Maintenance
Cash Drawer
CDS
- [ENG] Price of each item does not appear on the CDS screen
- [ENG] Price Display Not Showing on CDS Screen (Android)
- [ENG] Price Display Does Not Appear on the CDS Screen (iOS)
- [Malay] Harga setiap item Tidak Keluar pada skrin CDS
- [Malay] Paparan Harga Tidak Keluar pada skrin CDS (Android)
- [Malay] Paparan Harga Tidak Keluar pada skrin CDS (iOS)
Printer
- [ENG] Printer Prints Receipts Slowly / Prints Strange Font
- [ENG] Printer Prints Unclearly / Blurry / Blank
- [Malay] Printer: Combine/ Separate Order
- [Malay] Printer Mencetak Resit Dengan Perlahan / Mencetak Font Pelik
- [Malay] Printer Mencetak Dengan Tidak Jelas / Kabur / Blur / Kosong
- [ENG] Printer: Combine or Separate Order
- [ENG] Turn On Master Copy
- [ENG] Restart Printer
- [ENG] Printer: Remove and Add
- [ENG] Printer: Test Print
- [ENG] Printer: Add ‘tagging’ On ‘itemize printing’
- [ENG] Printer Disconnected
- [ENG] Printer: How to check the SKAB on Cloud
- [Malay] Printer: Bagaimana untuk semak SKAB pada Cloud
- [Malay] Hidupkan Master Copy
- [Malay] Hidupkan Semula Printer (Restart Printer)
- [Malay] Test Print pada Printer
- [Malay] Buang dan tambah printer (Remove and Add Printer)
- [Malay] Tambah ‘tagging’ pada ‘itemize printing’
- [Malay] Printer Disconnected
- [Malay] Printer Cetak Resit Tidak Diperlukan/ Cetak Tanpa Henti
- [ENG] Printer Prints Receipt Unnecessarily or Prints Non-stop
- Show Remaining Articles (1) Collapse Articles
Waiter Apps
Report
- Articles coming soon
Router
General
Slurp! CDS
Getorders App
Slurp! Central 2
Printer 2.0
Slurp!Cloud 2
- How To Create Discount
- How to Create a Payment Method in Slurp Cloud
- How to Create a Preset Reason in Slurp Cloud
- How to Create Charges in Slurp Cloud
- How to Create Taxes in Slurp Cloud
- How to Create Other Payment Methods in Slurp Cloud
- How to Create an API Access Token in Slurp Cloud
- How to Create a Discount with Time Availability in Slurp Cloud
e-Invoice
Slurp! FAQ
- Articles coming soon
Slurp! Inventory Retails
Slurp! Waiter Android
Slurp! Waiter iOS
Ipad
Payment Integration
How to Create Outlet Staff
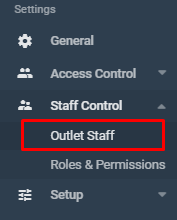
1. Go to Outlet Staff
Navigate to the Outlet Staff section.
2. Click Create Staff
Click Create Staff to add a new staff member.

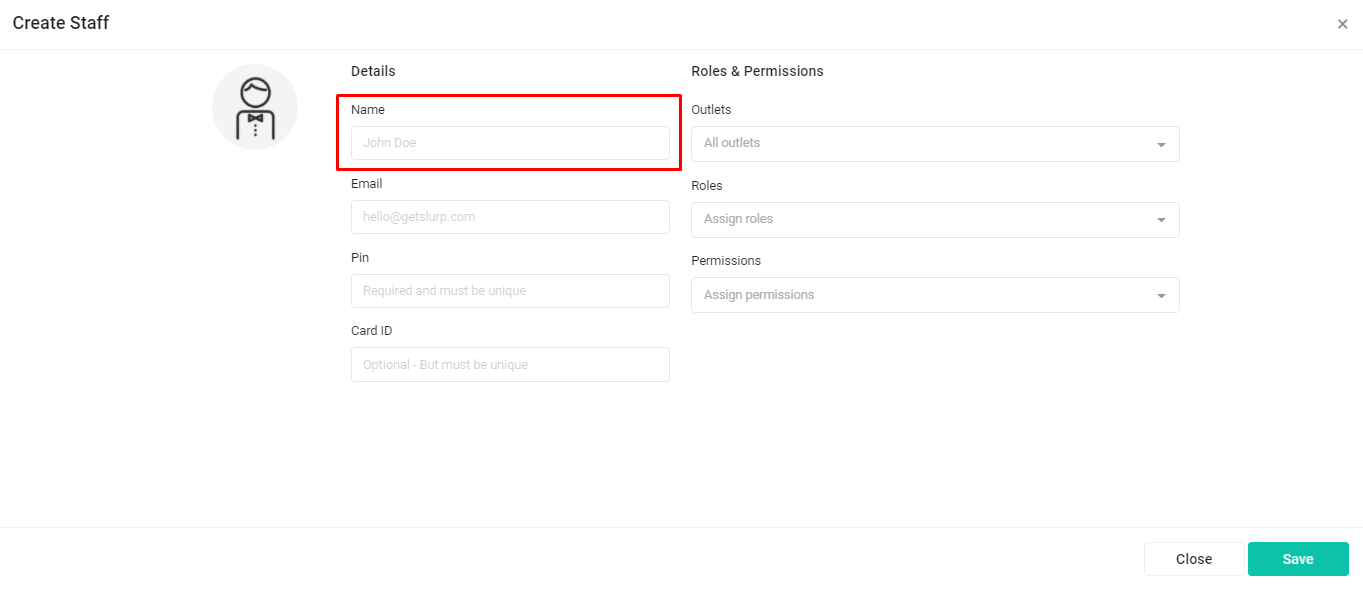
3. Enter the Staff Name
Under Name, enter the name of your staff member.
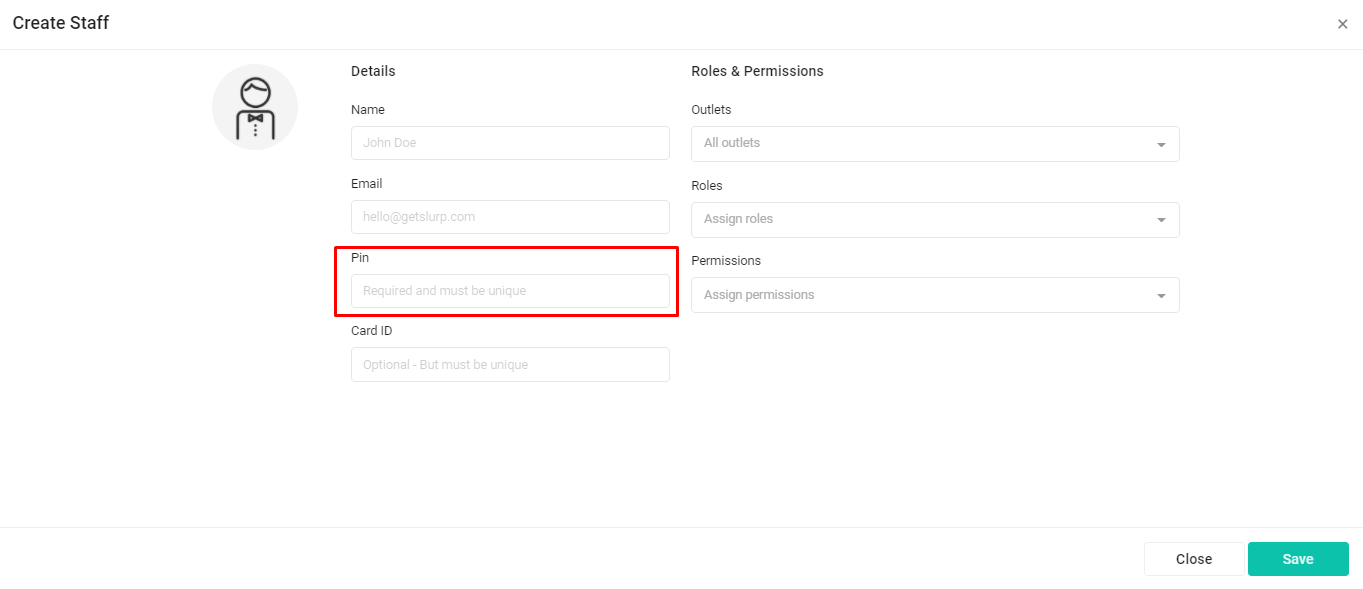
4. Set a PIN
Under PIN, enter a 4-digit PIN for the staff member.
Note: Email and Card ID are optional fields.
5. Select the Outlet
Under Outlet, select the outlet where the staff member will be assigned.
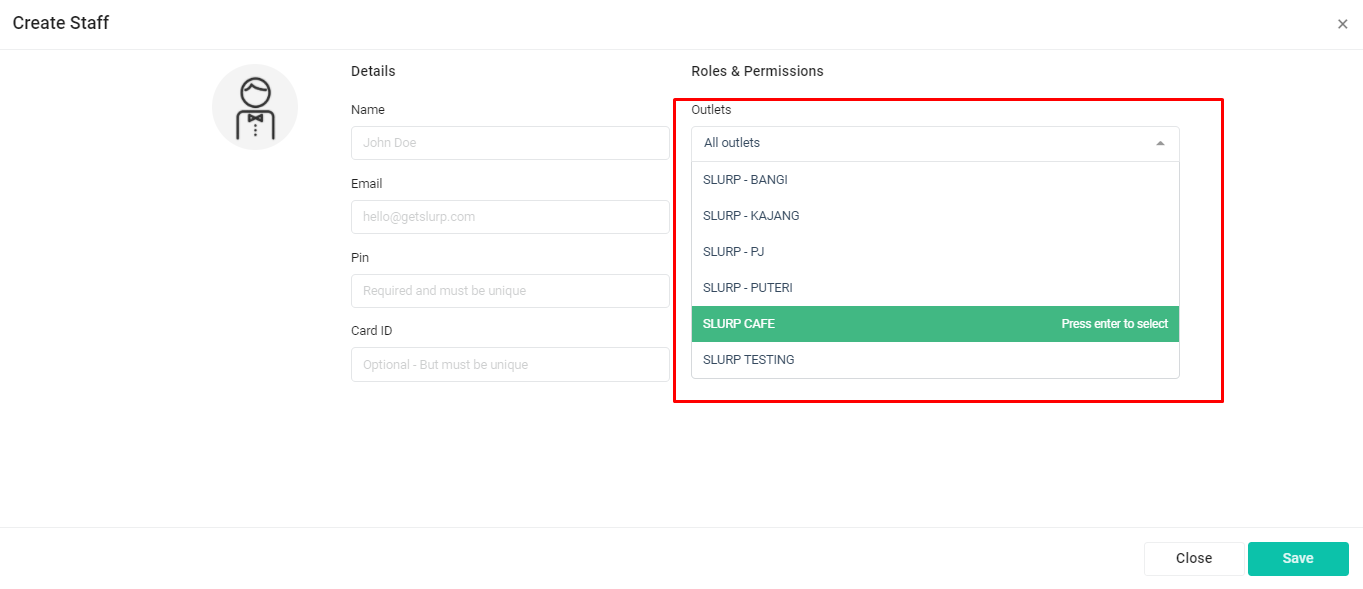
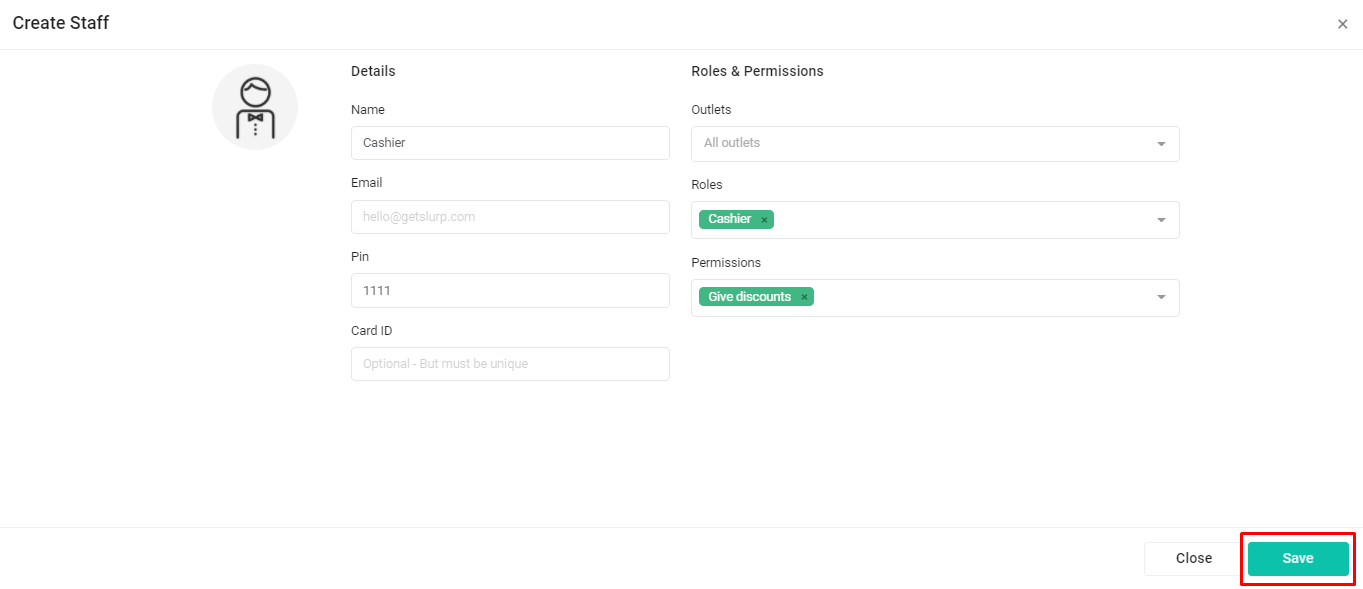
6. Assign Staff Roles
Under Roles, select the appropriate role(s) for the staff member (e.g., Cashier).
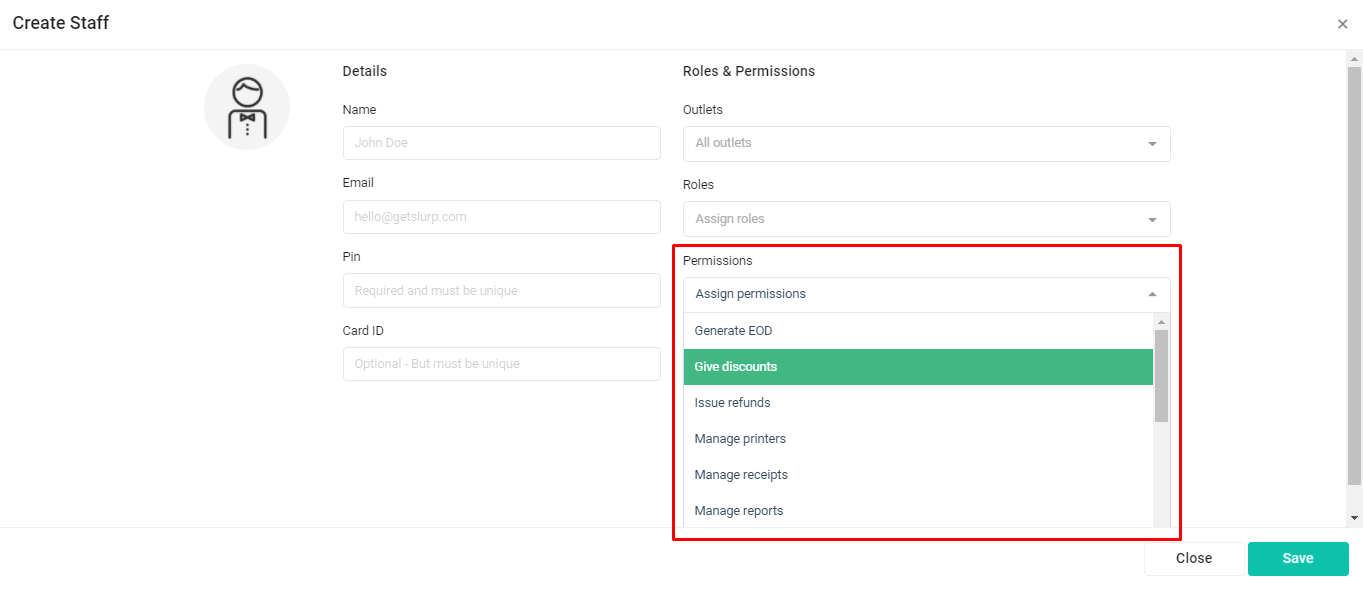
7. Assign Permissions
Under Assign Permissions, select the permissions you want to grant the staff member (e.g., Give Discounts).
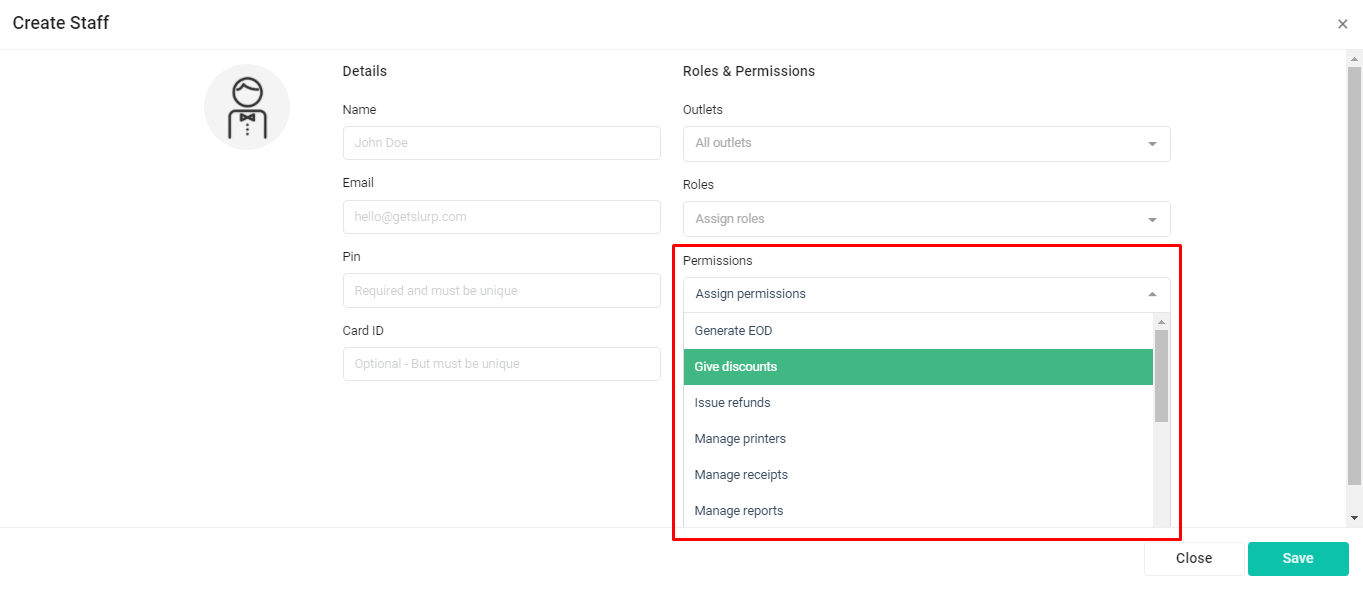
8. Save the Staff Profile
Once all the required details have been entered, click Save to create the staff profile.
Your new outlet staff member has been created successfully!