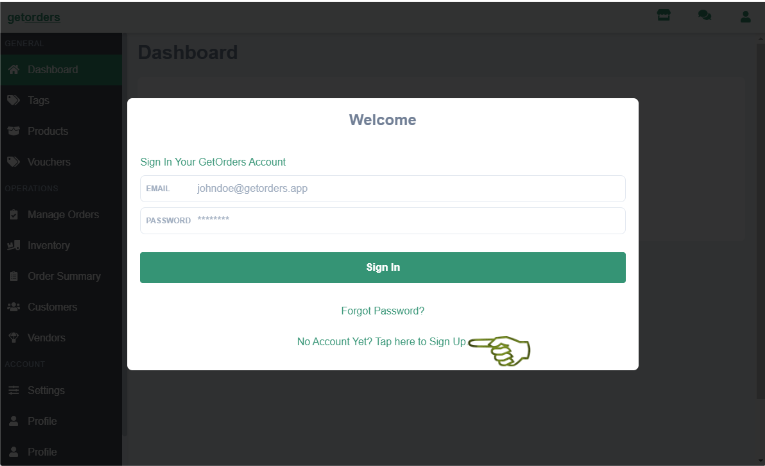
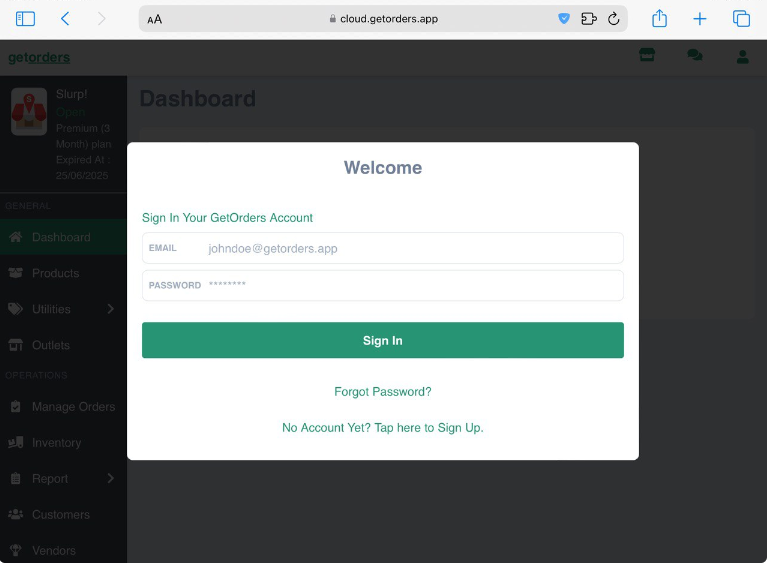
1. Go to https://cloud.getorders.app/ and click the “No Account Yet? Tap here to Sign Up” text
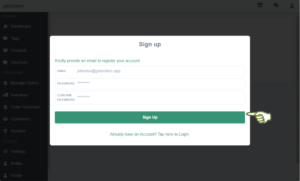
2. Insert Email, Password and Confirm Password. Then click the “Sign Up” button again.
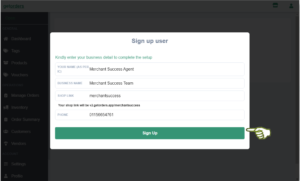
3. On the Sign up user page, please insert the details correctly. After that, insert your outlet name without spaces at the SHOP LINK section. Finally, click the “Sign Up” button again.
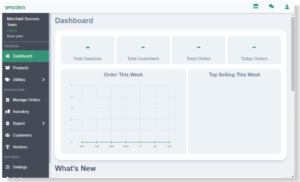
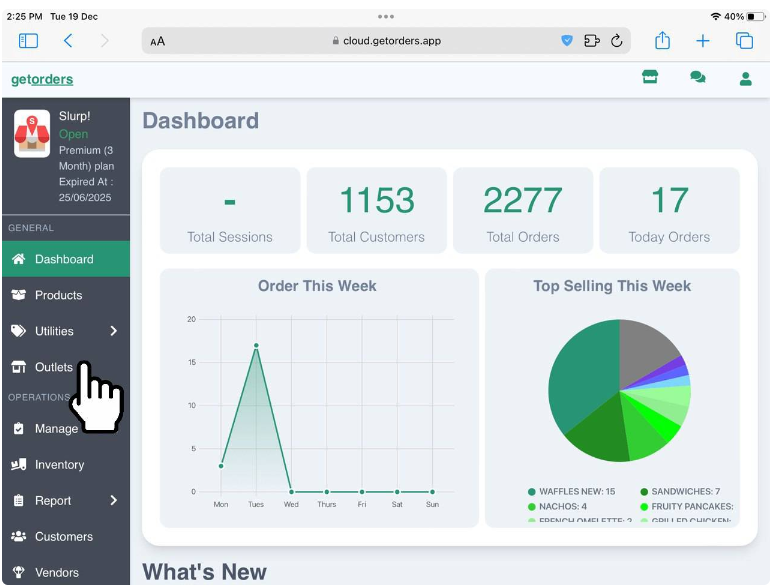
4. Once signed up, it will go to GetOrders Dashboard. Thus, the registration is completed.
5. On the left tab, click on “Settings”.
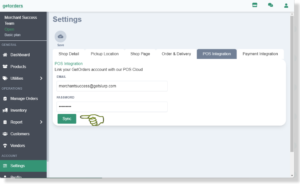
6. Click on “POS Integration”
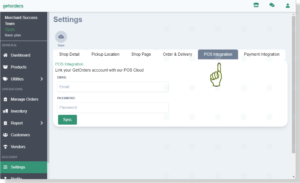
7. In the Email and Password section, please insert your Slurp! Cloud email and password. Then click the “Sync” button.
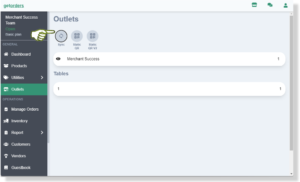
8. On the left tab, click on “Outlets”
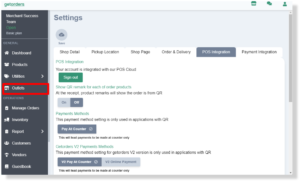
9. Click on the “Sync” button.
10. Click on your outlet’s name.
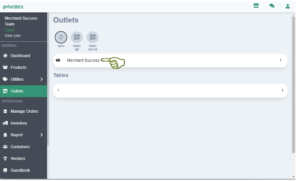
11. Enter your outlet’s details.
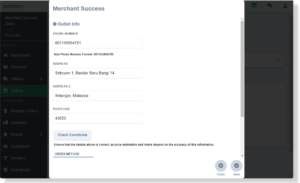
12. Scroll down and click on the “+ Add New Device” button.
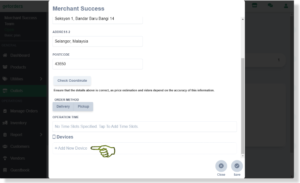
13. Copy the device code for the Settings in Slurp! Central and click on Save button.
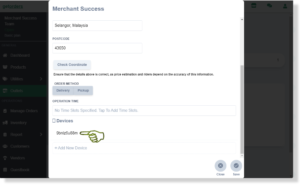
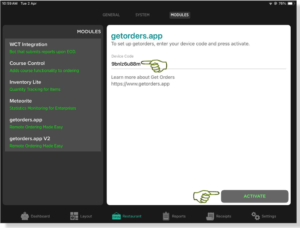
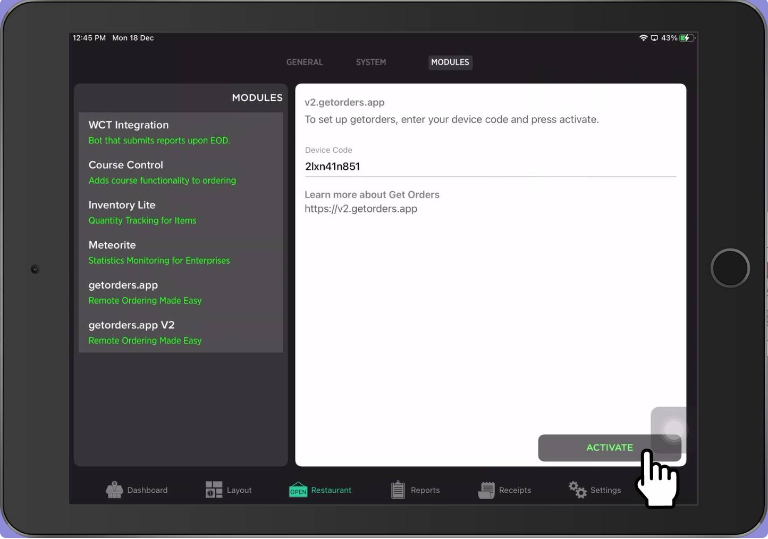
14. Open the “Slurp! Central POS” apps on your iPad. After that, go to the “Restaurant” section and click on “MODULES”. Finally, click on “getorders.app” and paste the Device Code from earlier and click on the “Activate” button.
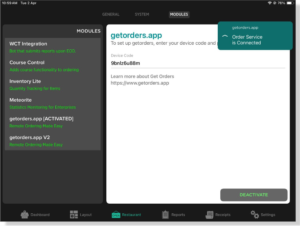
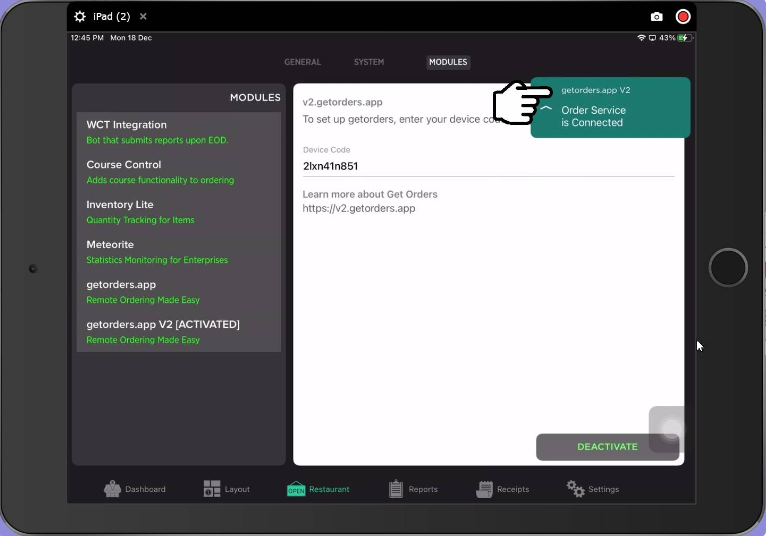
15. You will see the “Order Service is Connected” message.
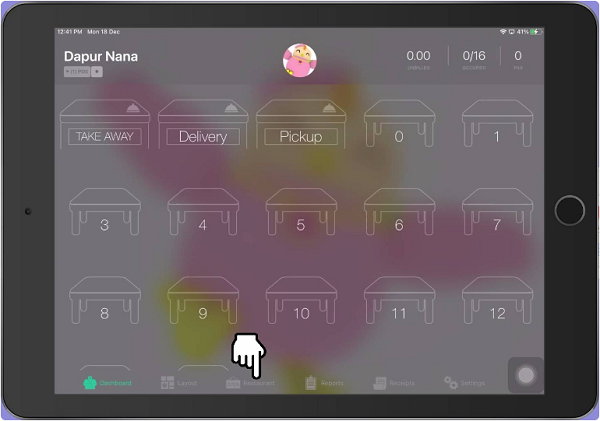
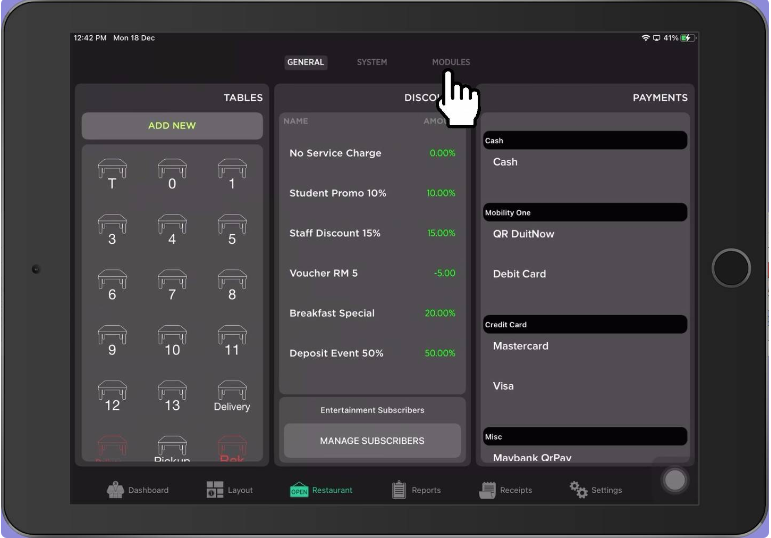
1. Click on the Restaurant tab from the bottom of the screen.
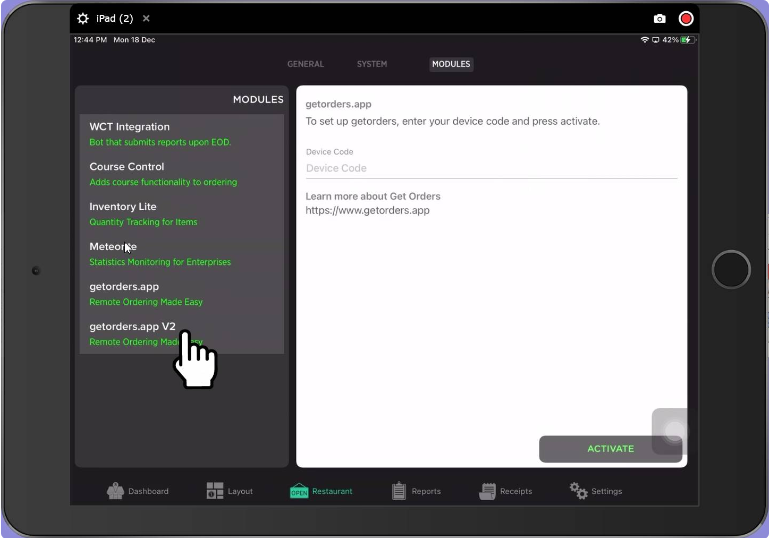
2. From the Restaurant page, click on the Modules at the Top of the screen.
3. From the left panel, click getorders.app Module.
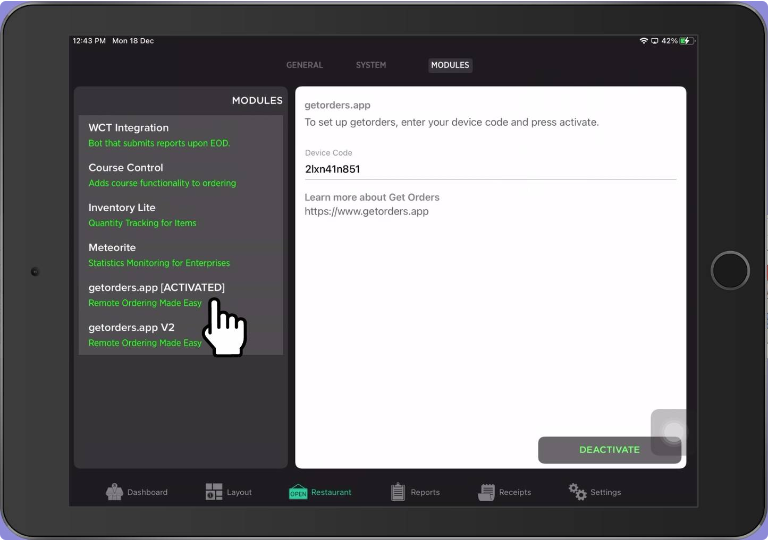
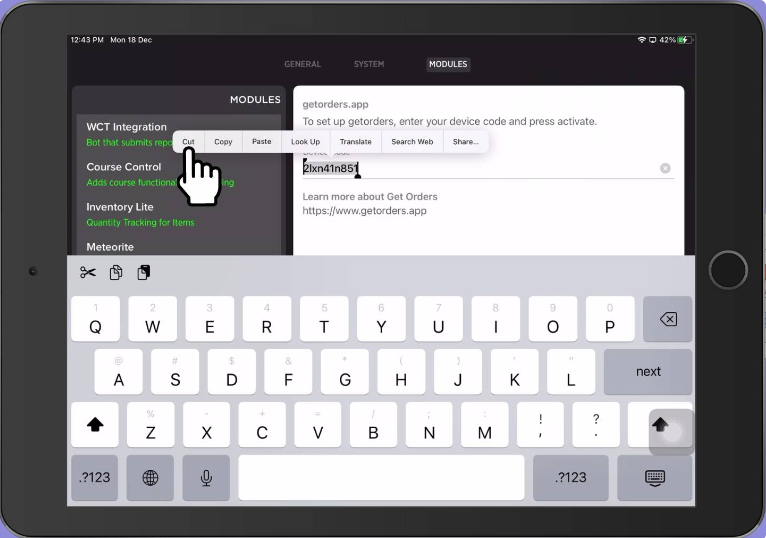
4. You need to double click on the existing Device Code and cut the code.
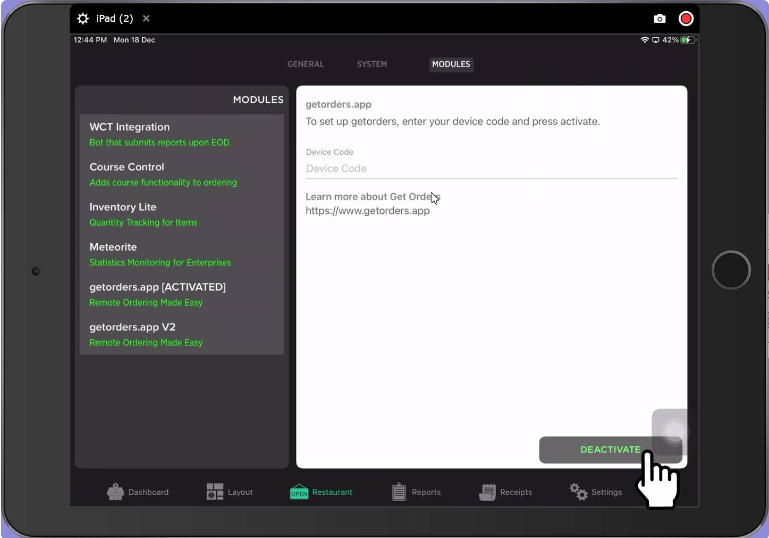
5. You are required to click Deactivate to stop using QR V1.
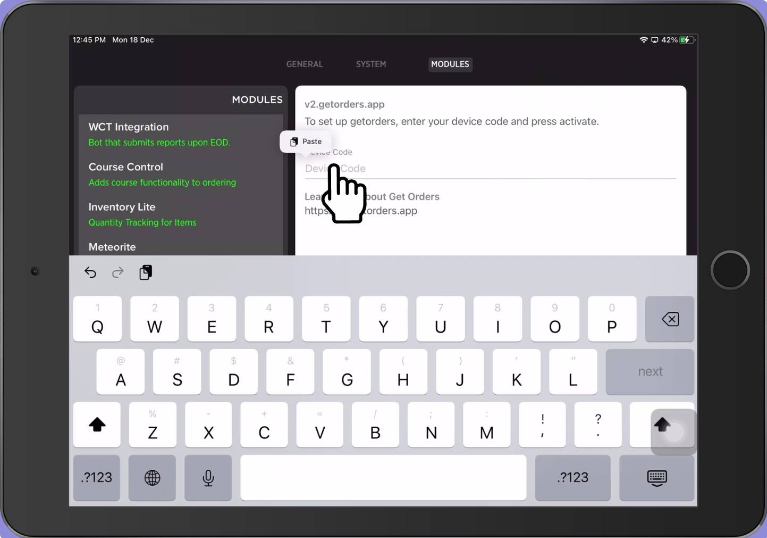
6. From the left panel, you need to click on the getorders.app V2.
7. Double Click on Device Code and paste the previous code that we cut from Step 4.
8. Click Activate button.
The screen will show the message as below which indicates your QR V2 has already activated.
Note: This payment gateway is only applicable for Pickup and Delivery order using Shop Link from getorders.app.
1. Login to Betterpay
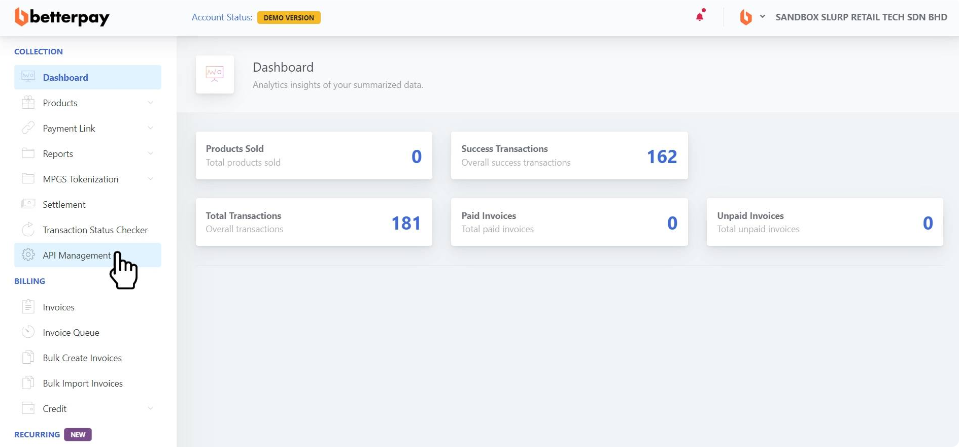
2. Click on API Management to configure the Betterpay Integration with getorders.app
3. Fill in Success Return URL (Front-end): https://v2.getorders.app
*Notes: Please make sure you copy and paste this whole link
4. Fill in Failure Return URL (Front-end): https://v2.getorders.app
*Notes: Please make sure you copy and paste this whole link
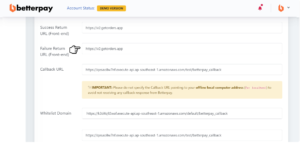
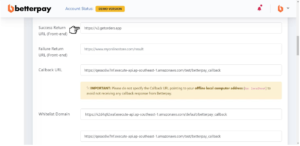
5. Fill in Callback URL: https://qesao8w7nf.execute-api.ap-southeast-1.amazonaws.com/test/betterpay_callback
*Notes: Please make sure you copy and paste this whole link
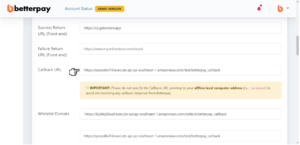
6. There are 3 lines for Whitelist Domain.
Copy and paste this link in Line 1: https://k2d4q92waf.execute-api.ap-southeast-1.amazonaws.com/default/betterpay_callback
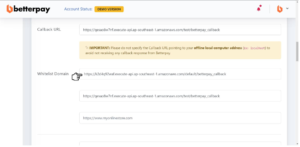
7. Whitelist Domain Line 2: https://qesao8w7nf.execute-api.ap-southeast-1.amazonaws.com/test/betterpay_callback
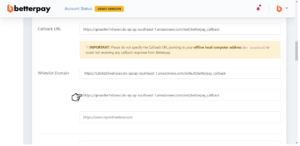
8. Whitelist Domain Line 3: https://v2.getorders.app
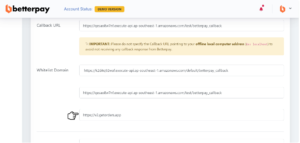
9. For Email Support, fill in your business email (or any relevant emails)
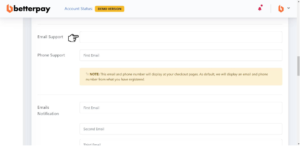
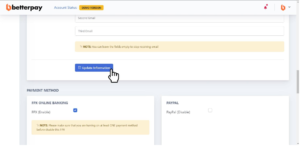
10. Click Update Information to save your configuration.
11. Once your information is successfully updated, scroll to top of the page that shows API Key, Merchant ID. Both information are required to be filled in getorders.app

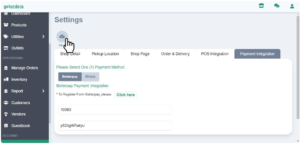
12. In getorders.app Settings, you need to click Payment Integration
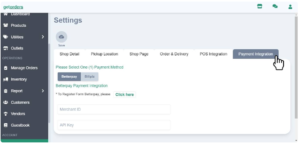
13. Select Betterpay for the Payment Method options.

14. Please fill in the Merchant ID and API Key provided by Betterpay.
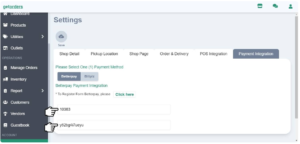
15. Click Save
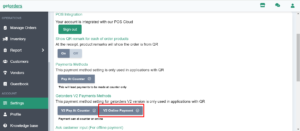
16. In getorders.app Settings under POS intergration section, you need to select V2 Online Payment and save.
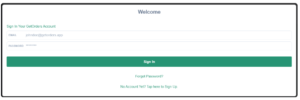
1. Login to cloud.getorders.app
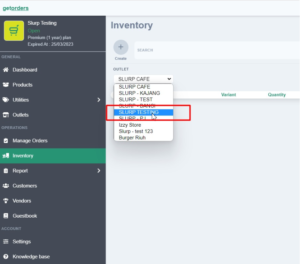
2. Click Inventory section.
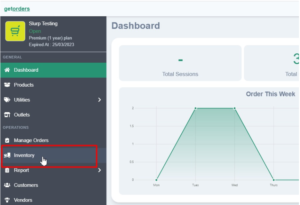
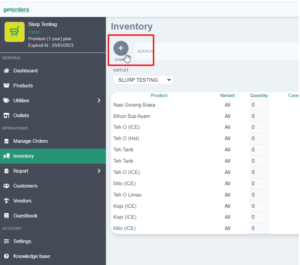
3. Select Outlet.
4. Click Create button.
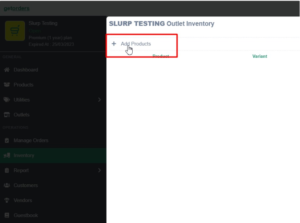
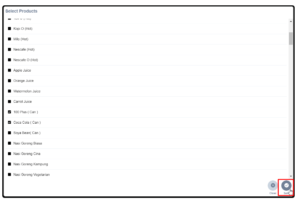
5. Click Add Products.
6. Select Products that you want to hide in getorders.app or QR.
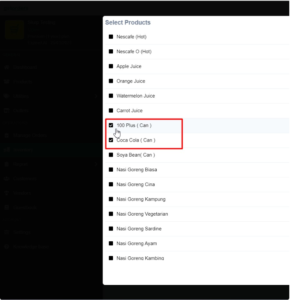
7. Click Save
8. Under Stores section, make sure to untick (hide) for Pickup, Delivery and Dine In.
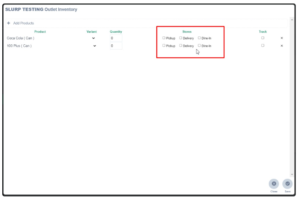
9. Click Save
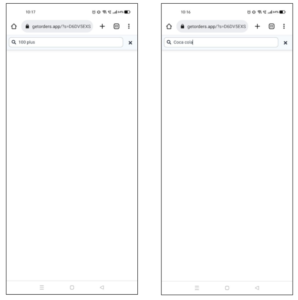
As a result, the getorders.app or QR will not show the hidden products. Refer to figure below:
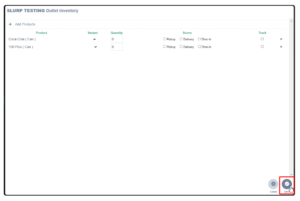
Meanwhile, in Slurp Central will show as figure below:
1. Login to cloud.getorders.app
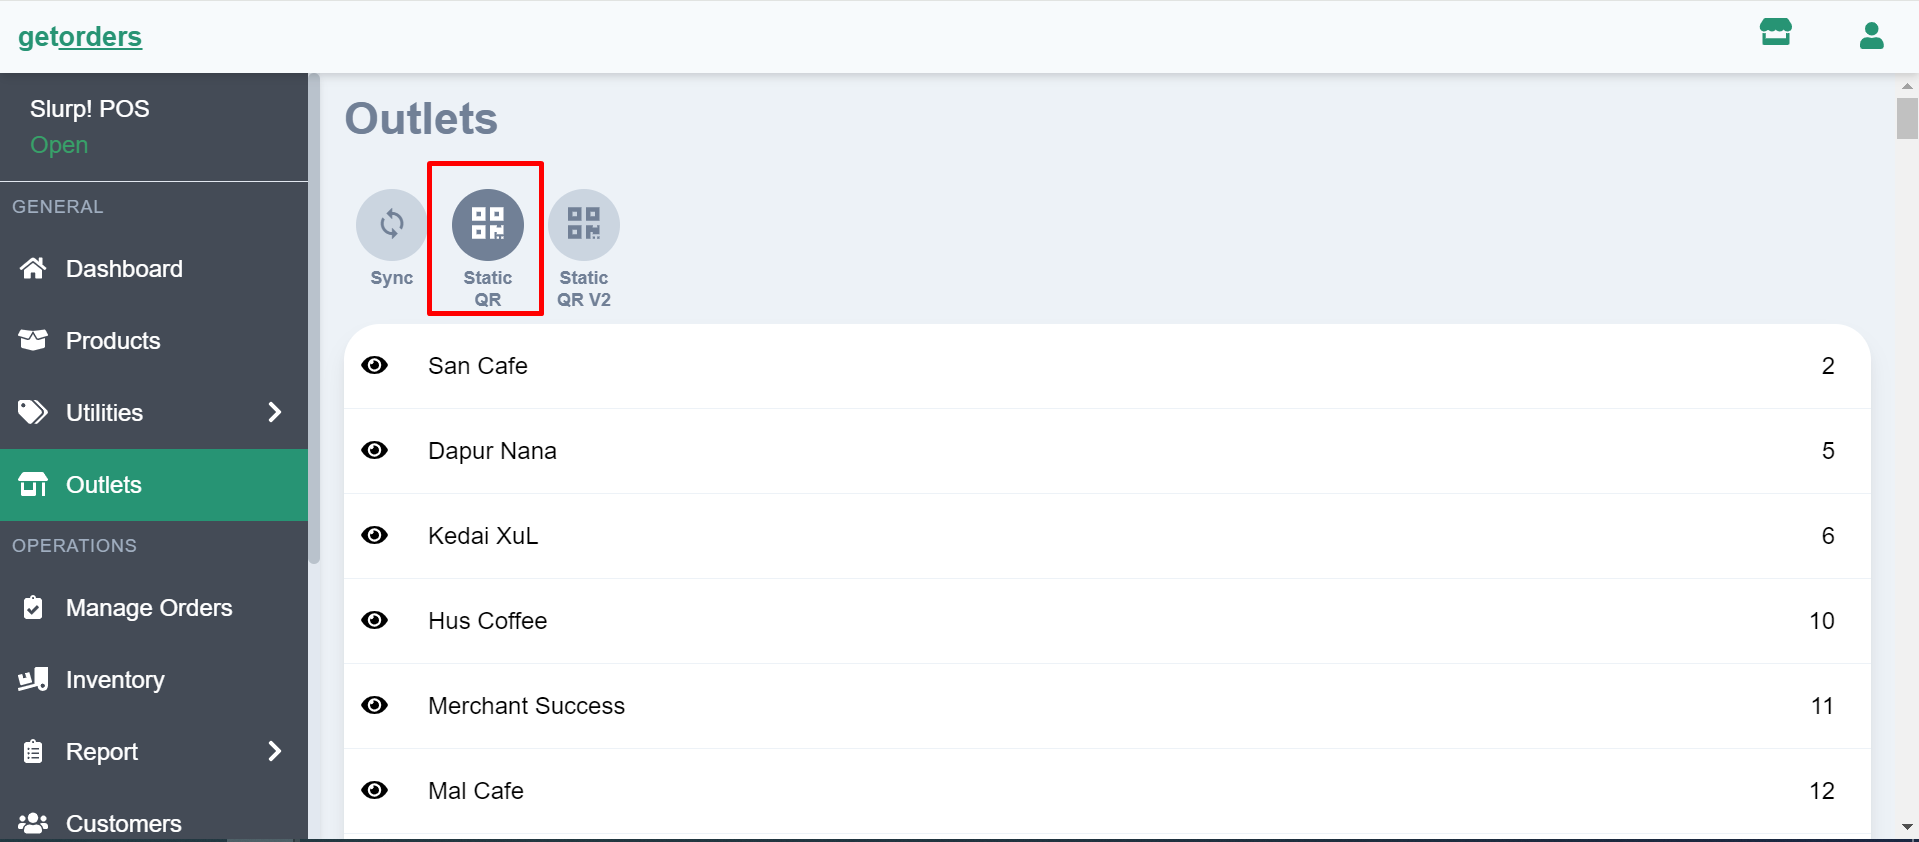
2. Click Outlets
3. Click Static QR V1 button.
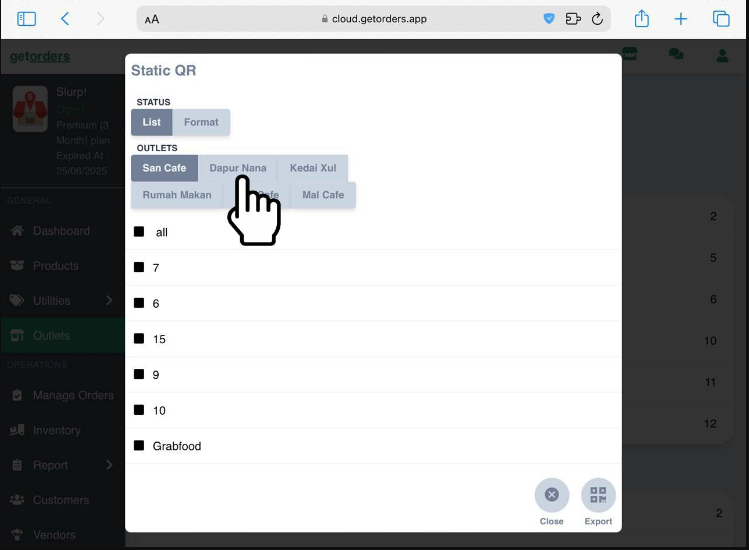
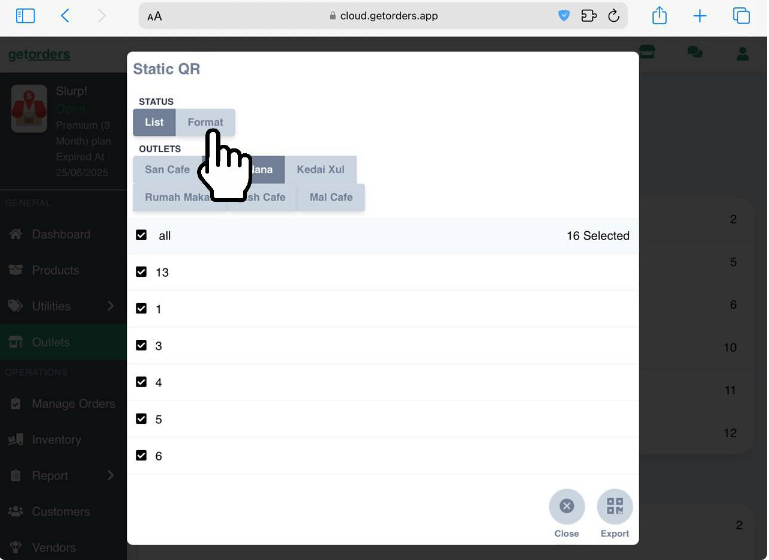
4. Select your Outlet Name
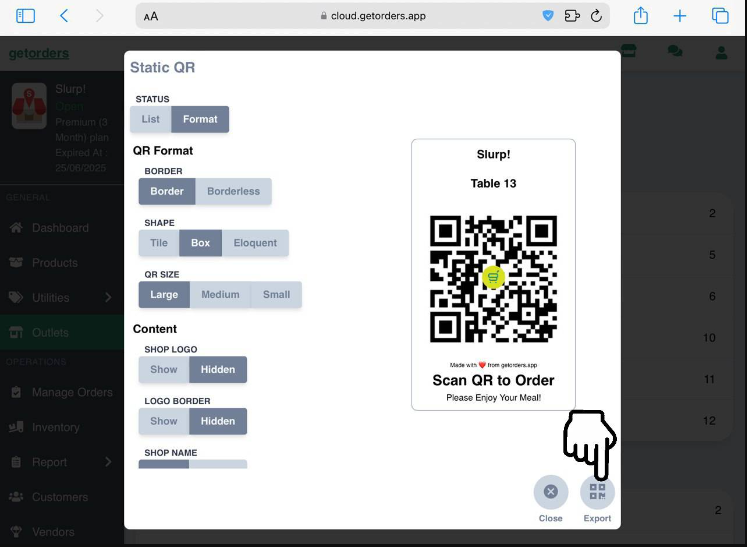
5. Click on Format button
6. Customize your QR to display, then click Export button
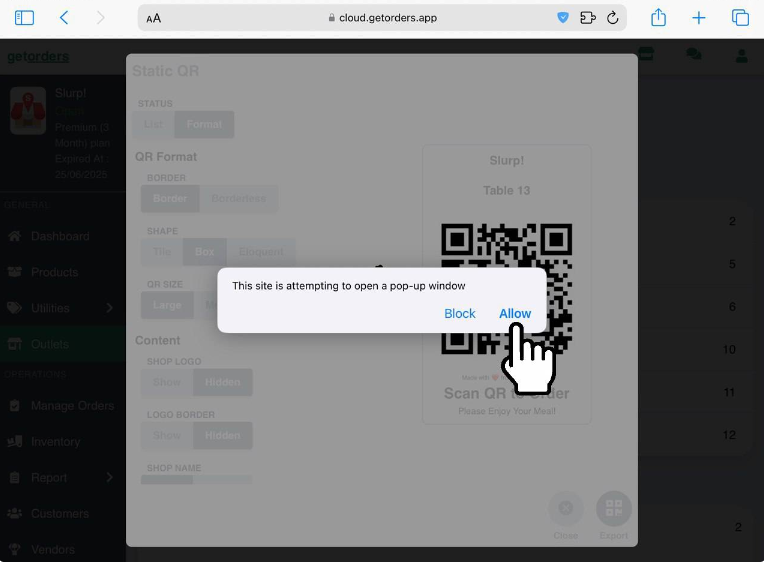
7. Please make sure your Browser (Safari, Chrome, Mozilla, etc.) to allow pop-up window. This is to display the Static QR page.
8. Save your Static QR V1 in PDF file and you can proceed on printing and put the QR on your dine in Table.
1. Login to cloud.getorders.app
2. Click Outlets
3. Click Static QR V2 button.
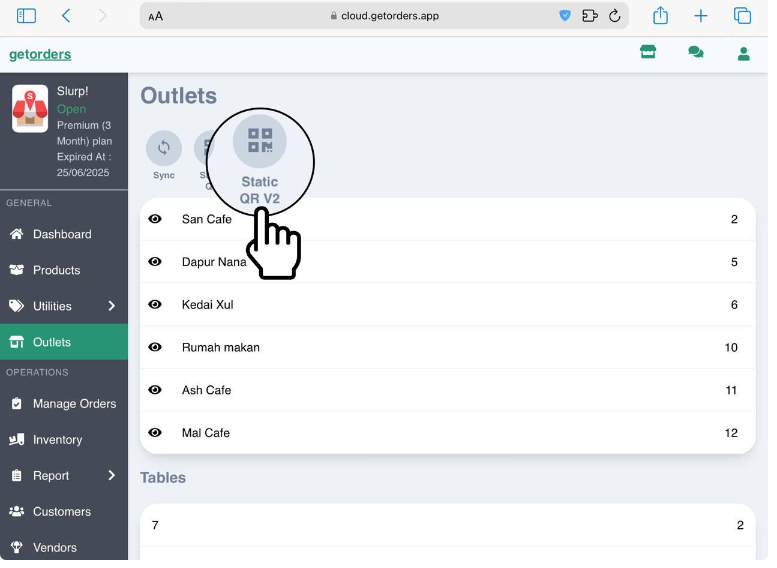
4. Select your Outlet Name
5. Click on Format button
6. Customize your QR to display, then click Export button
7. Please make sure your Browser (Safari, Chrome, Mozilla, etc.) to allow pop-up window. This is to display the Static QR page.
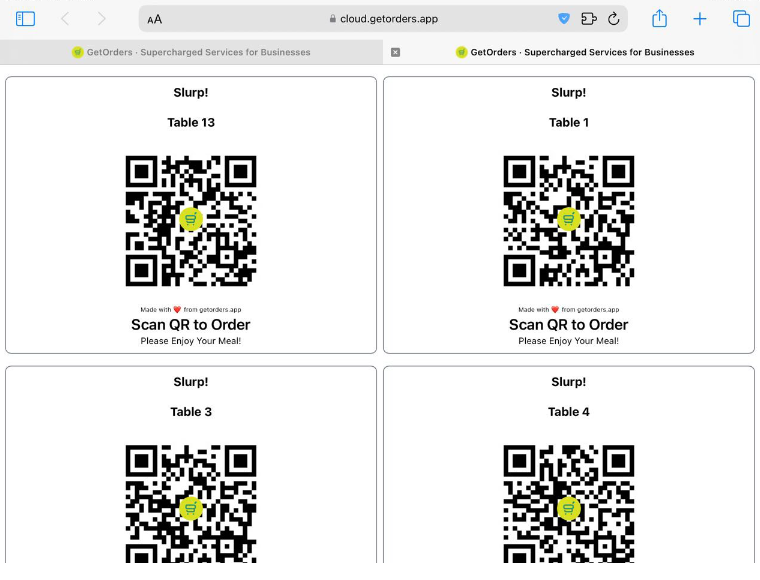
8. Save your Static QR V2 in PDF file and you can proceed on printing and put the QR on your dine in Table.
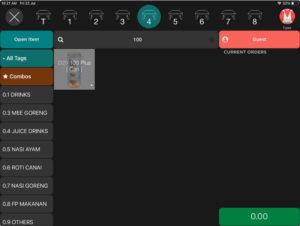
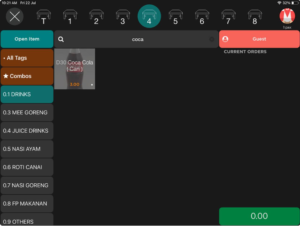
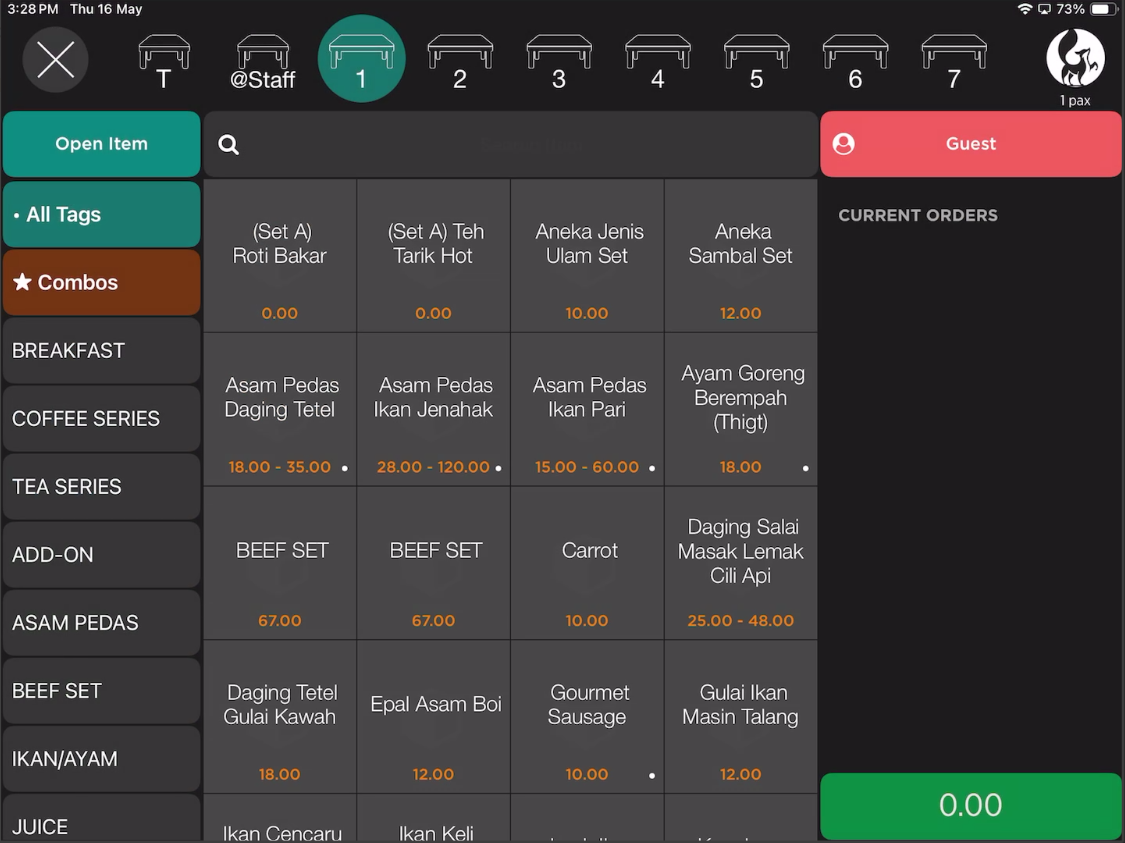
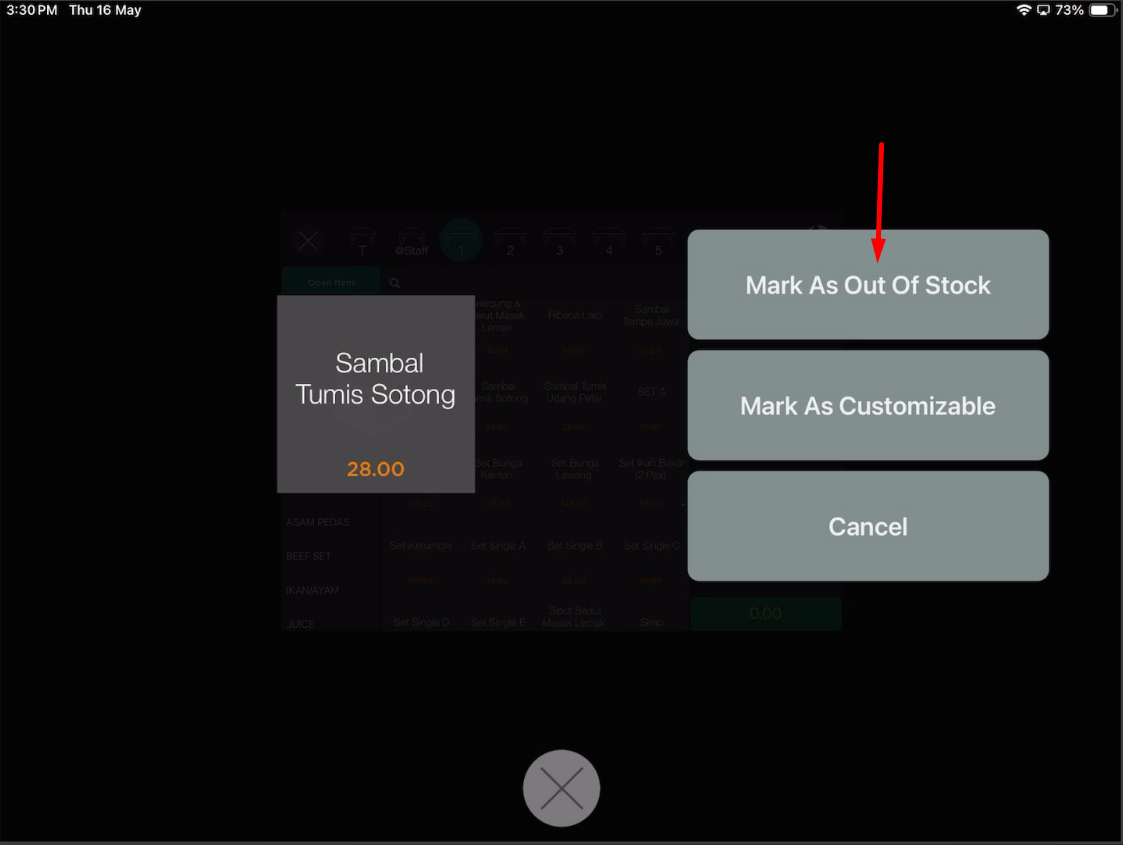
1. Open Slurp Central and go to ordering section
2. Press and hold the item that you want to mark as out of stock. Then, choose “Mark As Out Of Stock”
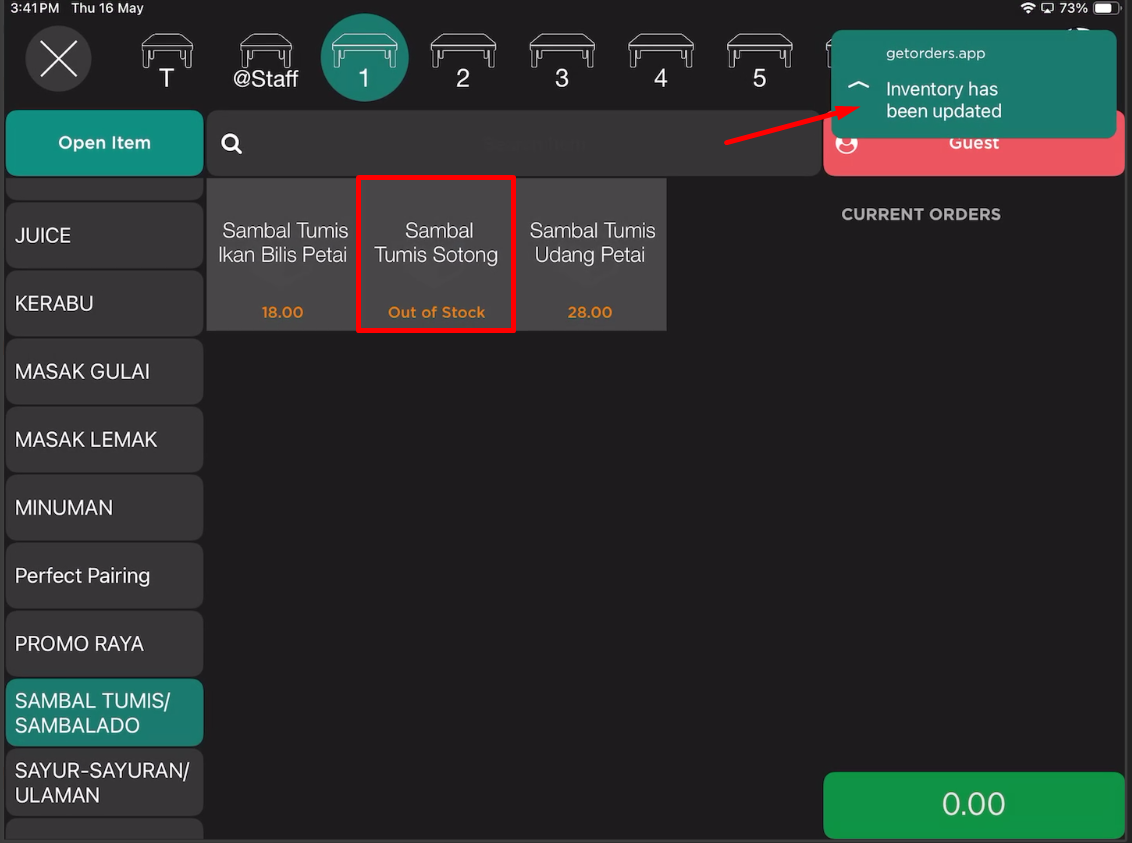
3. Item already mark as out stock at POS and automatic sync on getorders (QR).
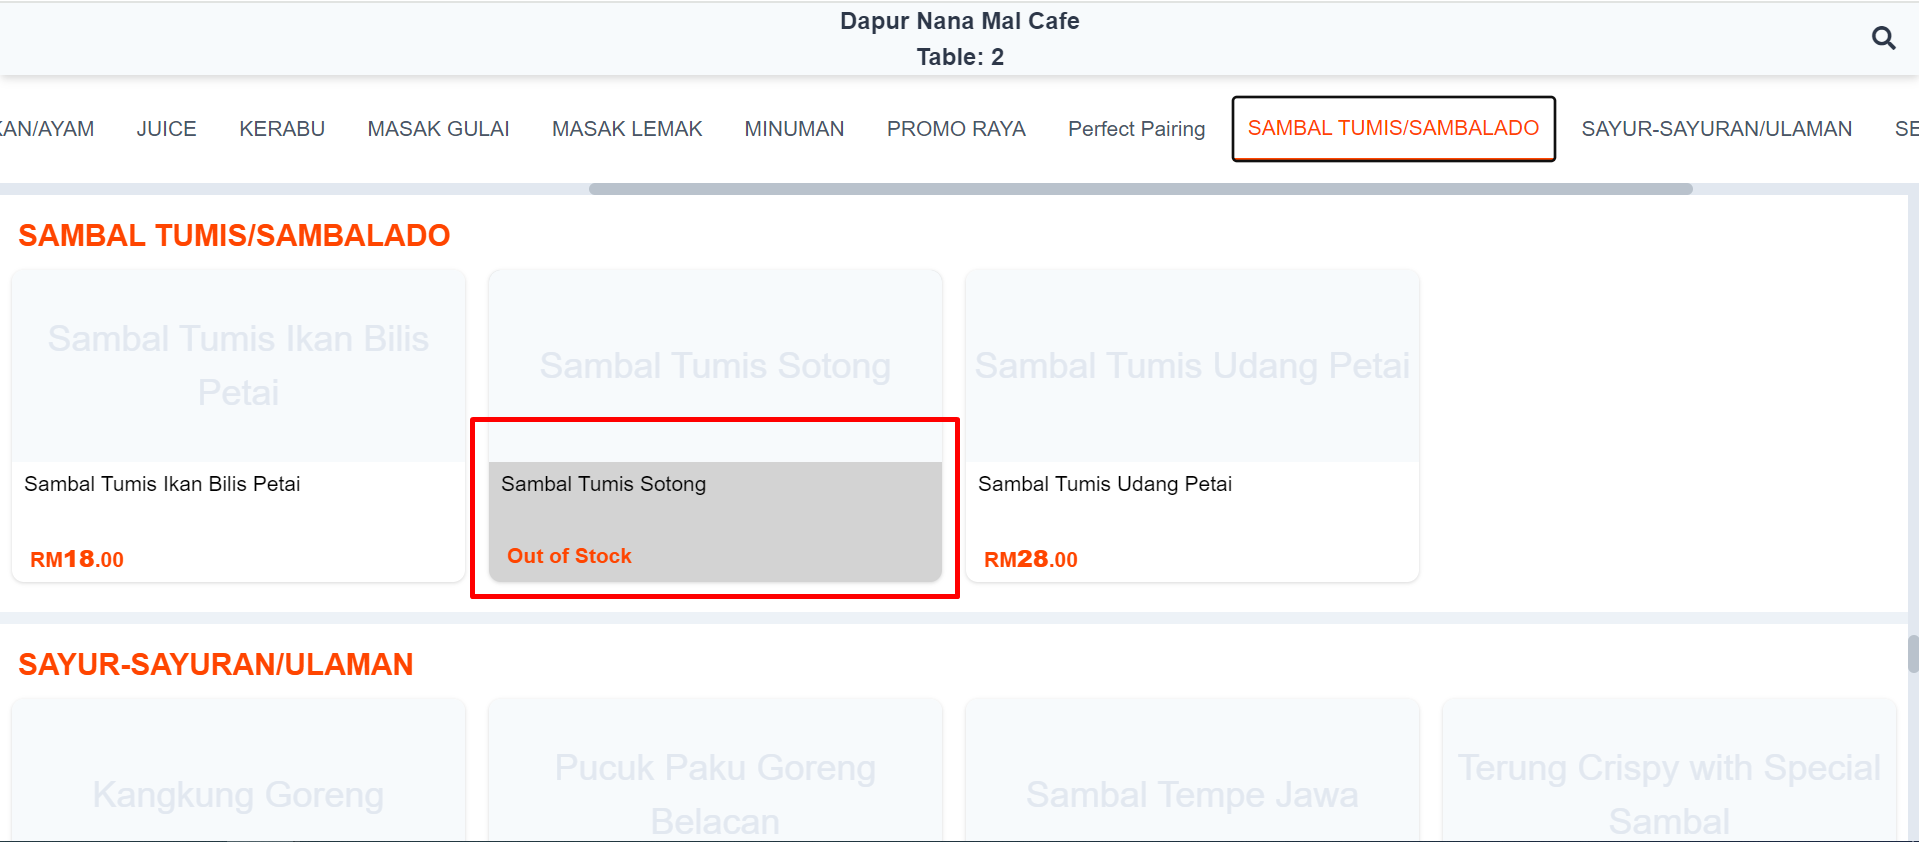
4. As a result, the getorders.app or QR will show the item as out of stock. Refer to figure below:
Situation :-
Your QR item not sync after you do update setting at Slurp central.
1. Open Safari, and go to cloud.getorders.app. Go to outlet section and click on POS Integration.
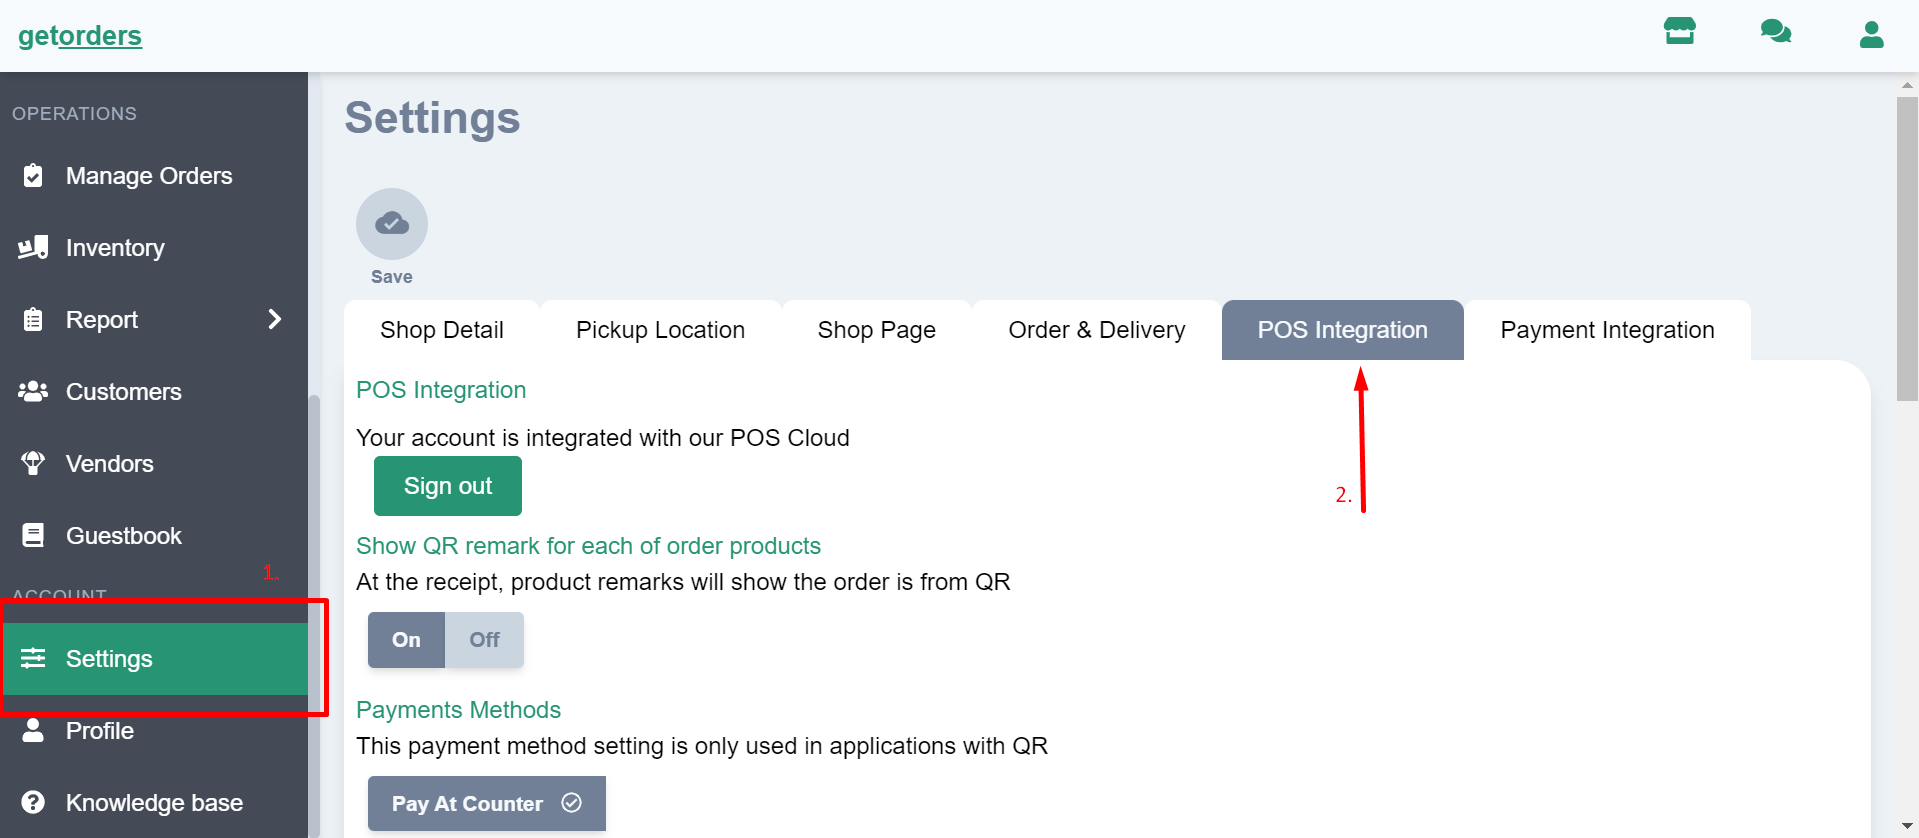
2.
