These are the list of thermal printers that is compatible with Slurp! Point-Of-Sale System.
Basic requirement of printer:-
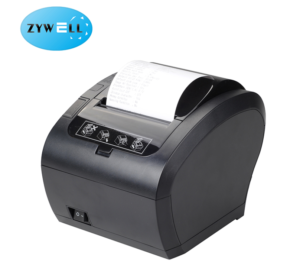
1. ZYWELL ZY301
2. ZYWELL ZY306
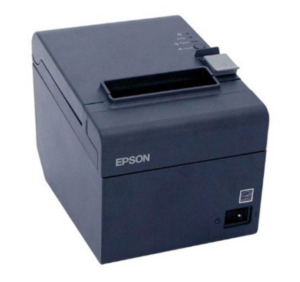
3. EPSON TM-T82 (LAN PORT)
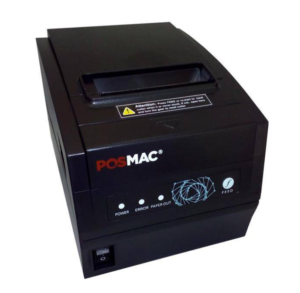
4. POSMAC PP-Q6
5. POSMAC CP-Q3
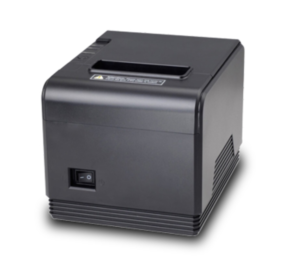
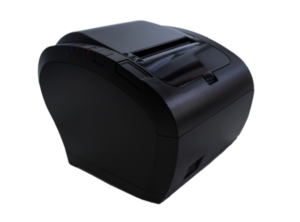
6. POSMAC BP-T3B
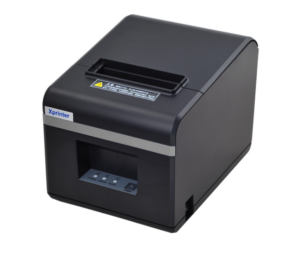
7. XPRINTER XP-N160II
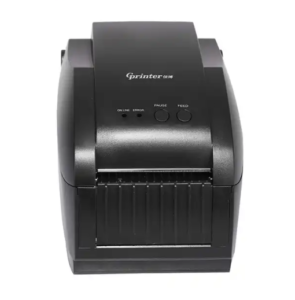
8. GPRINTER GP-3150TN (LABEL PRINTER)
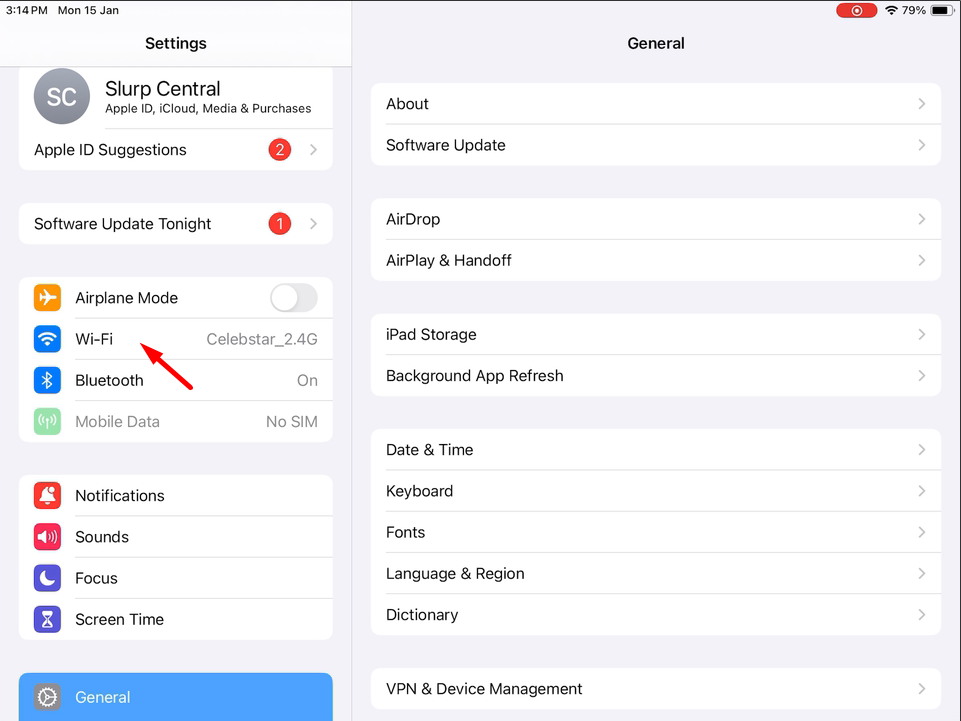
In order to connect all the printers in Slurp! Central, you need to make sure your iPad is connected to “getslurp.com-YourOutletName” wifi (2.4G or 5G).
Step 1: In your iPad, click on Settings button.
Step 2: Go to WiFi.
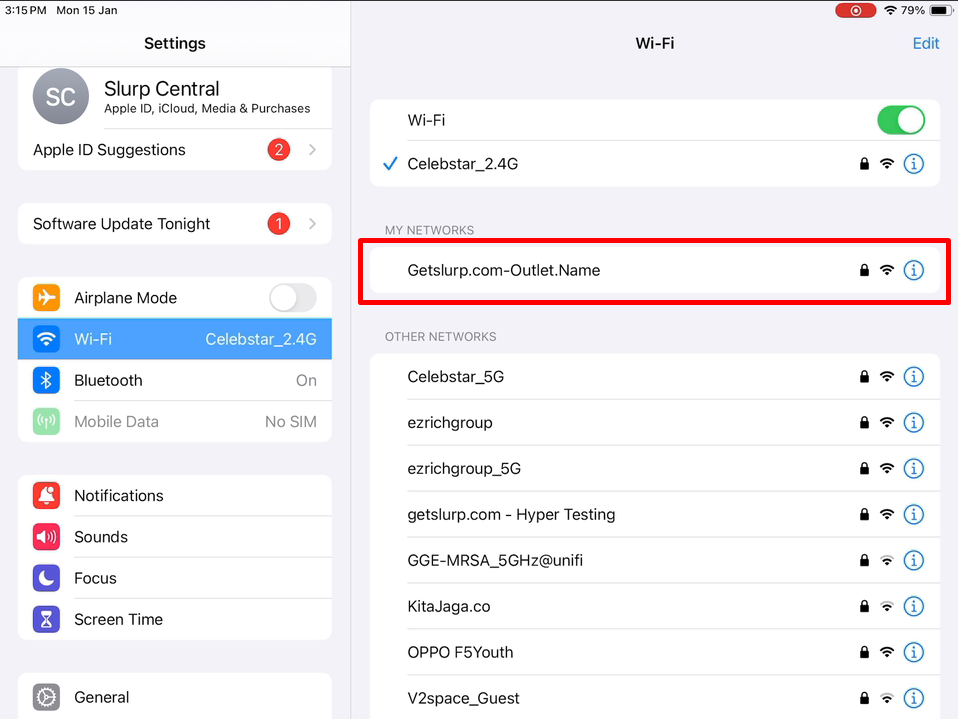
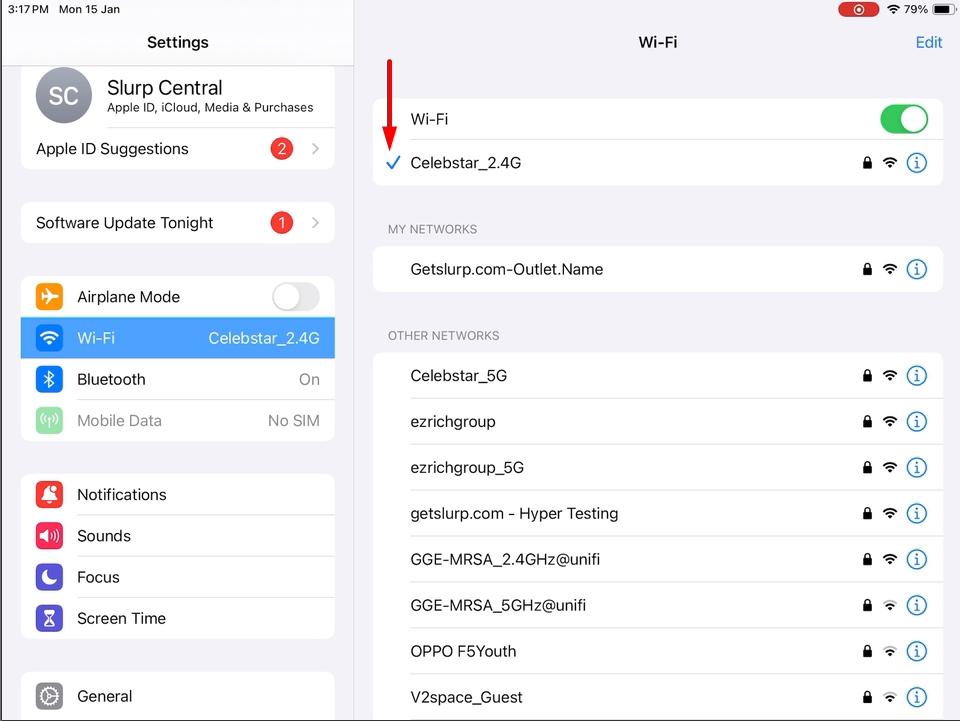
Step 3: Select WiFi “getslurp.com-YourOutletName” OR “getslurp.com-YourOutletName-5G”
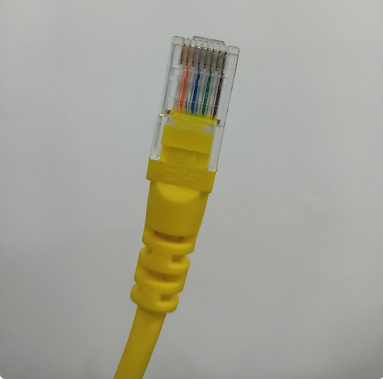
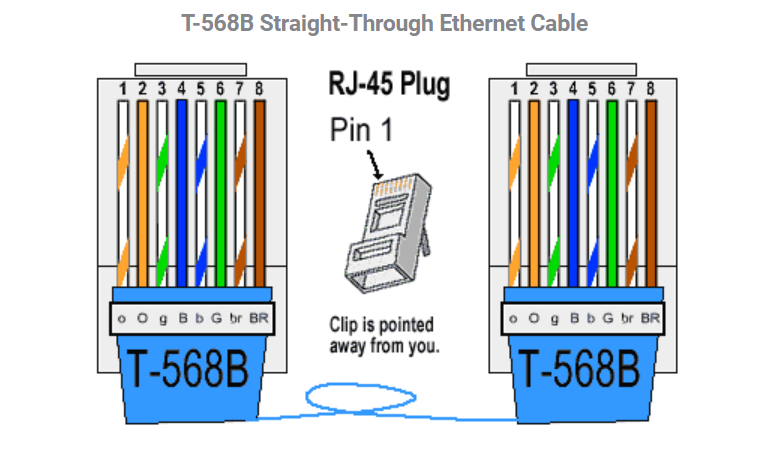
Step 1: You must use LAN/Ethernet cable RJ45 as shown below to connect the printer.
The color arrangement needs to follow as shown below:
Step 2: Make sure to have 2 lights blinking (Orange & Green) from the LAN Port at the printer.
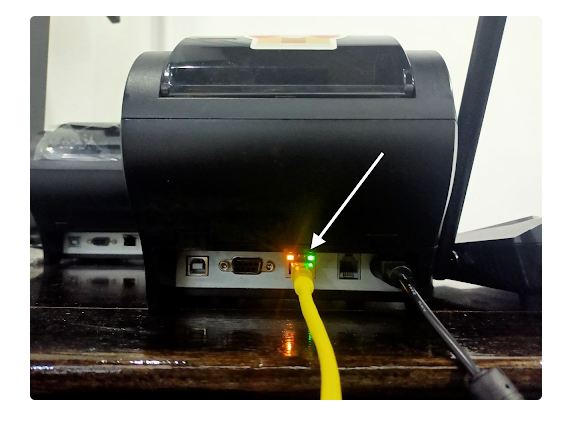
Step 3: If there are no lights blinking, try to use different cables to identify whether it is cable issue or other issue.
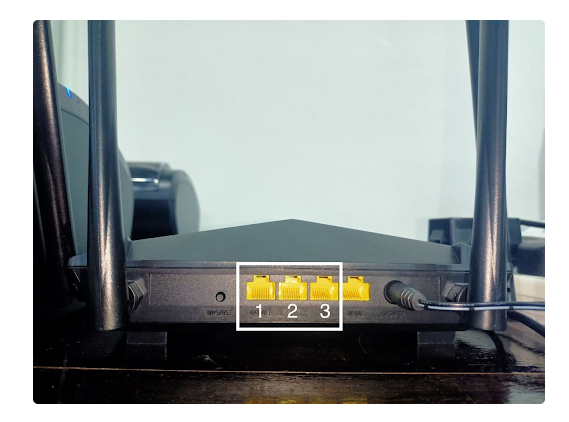
Please make sure the LAN cable is plugged in at port 1,2, or 3 only. Refer to the picture below to identify which is 1, 2 and 3 LAN Port.
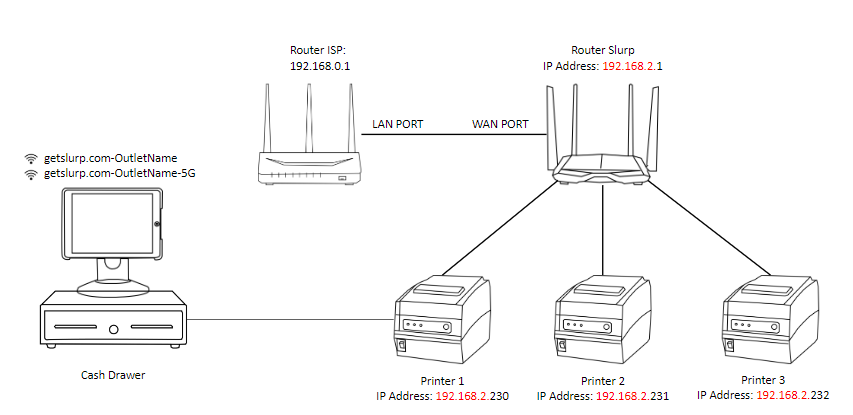
Step 1: Connect the LAN cable from printer to Slurp Router.
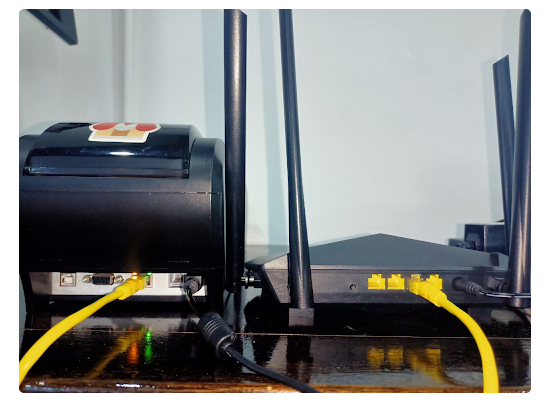
Note: Do not use an Internet Service Provider (ISP) Router such as Unifi/Maxis/Time to connect the printer. This is to avoid network interruptions between Slurp! POS System and ISP.
The IP address is a crucial component of any network architecture, as it serves as a unique identifier for devices on the network. In order for devices to communicate with each other on the same network, they must have IP addresses that share the same first three octets. This requirement ensures that devices are on the same network and can exchange information with each other.
How To Check IP Address?
Router
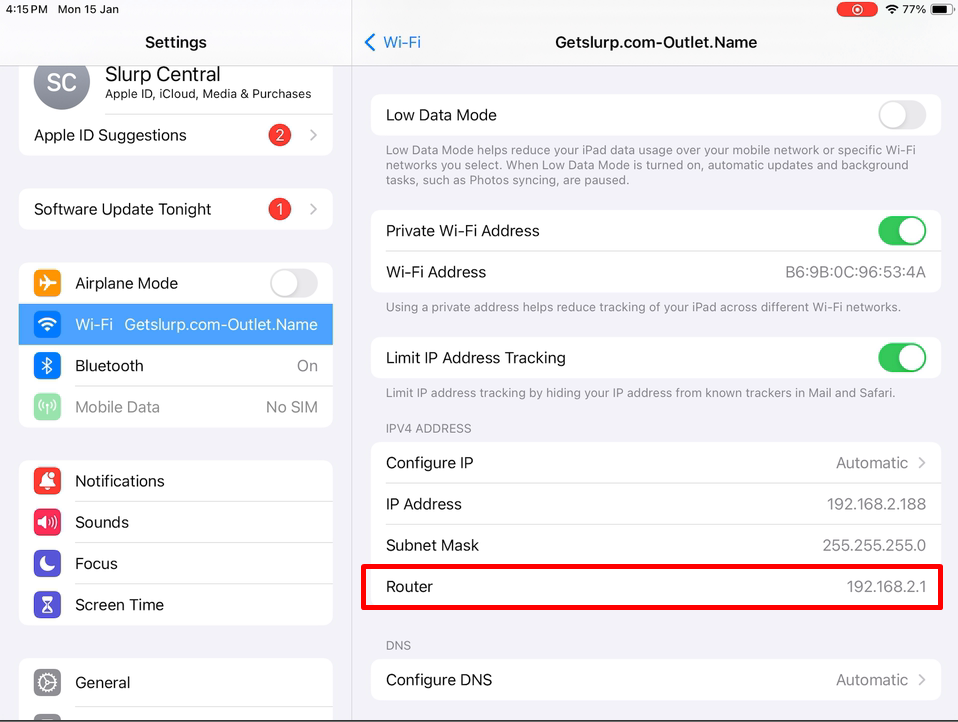
Step 1: In your iPad, Go to the Settings
Step 2: Click Wi-Fi
Step 3: Connect to WiFi getslurp.com-OutletName
Step 4: Scroll down and refer to Router. You will find the IP Address.
Printer
You can test print to get the printer IP Address. Below video how to test print.
To print a test slip, power off the printer for 10 seconds. While the printer is still turned off, press and hold the feed button. Continue holding the feed button while you turn the printer back on. Once the slip prints, the IP and MAC address will be at the very bottom of the slip. Below video how to test print the printer.
Resetting the printer stops printing and clears the current print job received from the active interface. You may want to reset the printer when there is a problem with the print job itself and the printer cannot print successfully. Below video how to reset the printer.
Why do you need to clean the receipt printer?
The thermal print-head on your printer should be cleaned each time you change the label roll or ribbon. Regular cleaning will ensure that you continue to receive consistently excellent printing results while also preserving your print-head from premature failure.
Why do my receipt become faded over time?
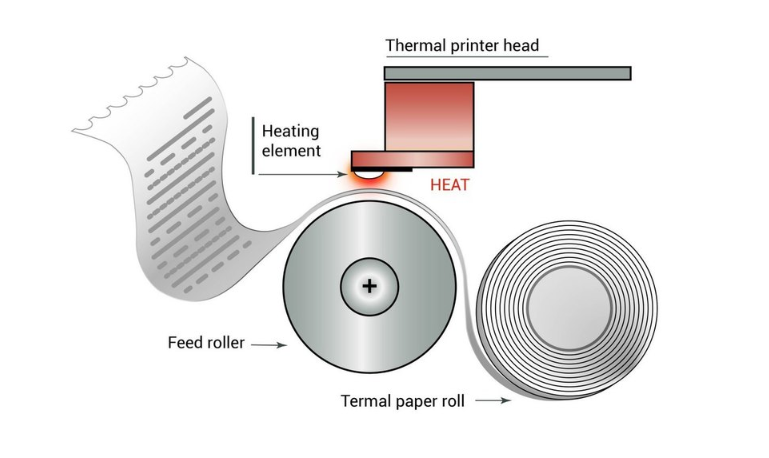
Receipts are typically printed on thermal paper, the printing process is a direct contact between the thermal head and the thermal paper, a chemically coated paper that produces text and image when the heat is applied to its surface. They are quite fast and provide good picture quality. The con of receipts printed by the thermal printer is that the receipts may lose images from other sources of heat, such as sunshine or hot air in the kitchen.
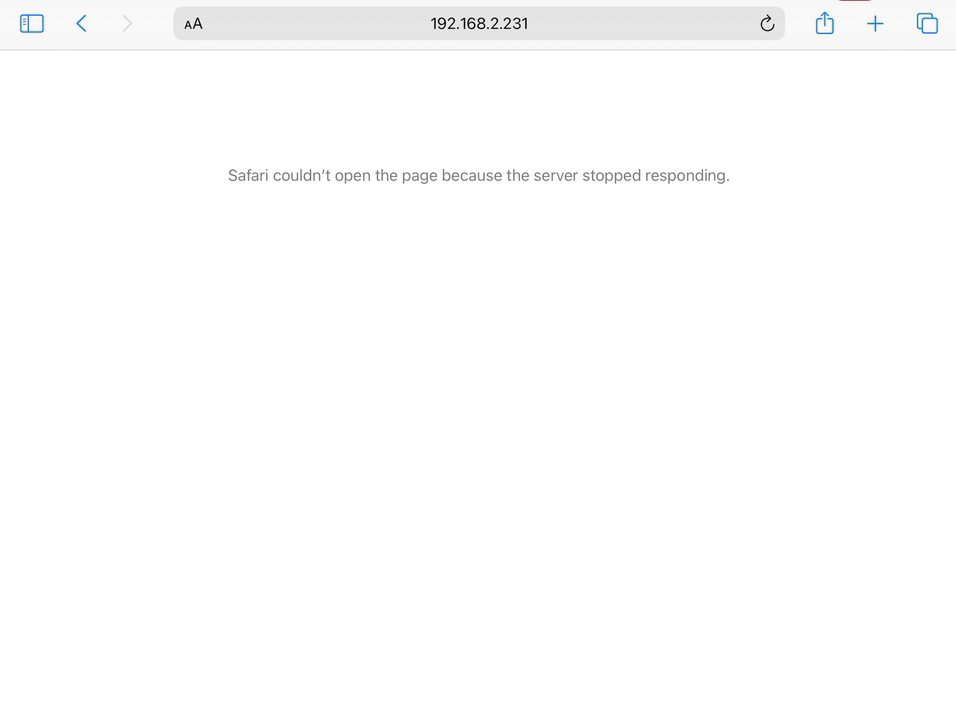
How do I check printer connection?
1. You need identify IP Address for which printer that you want to check.
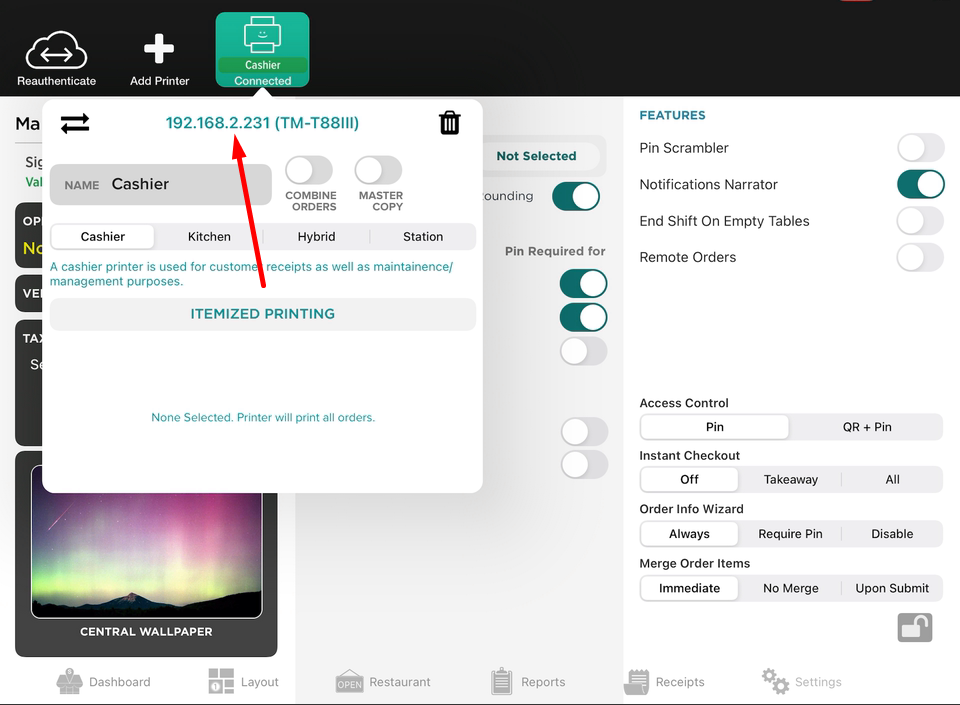
2. Open Safari, search IP address of printer and press enter at keyboard.
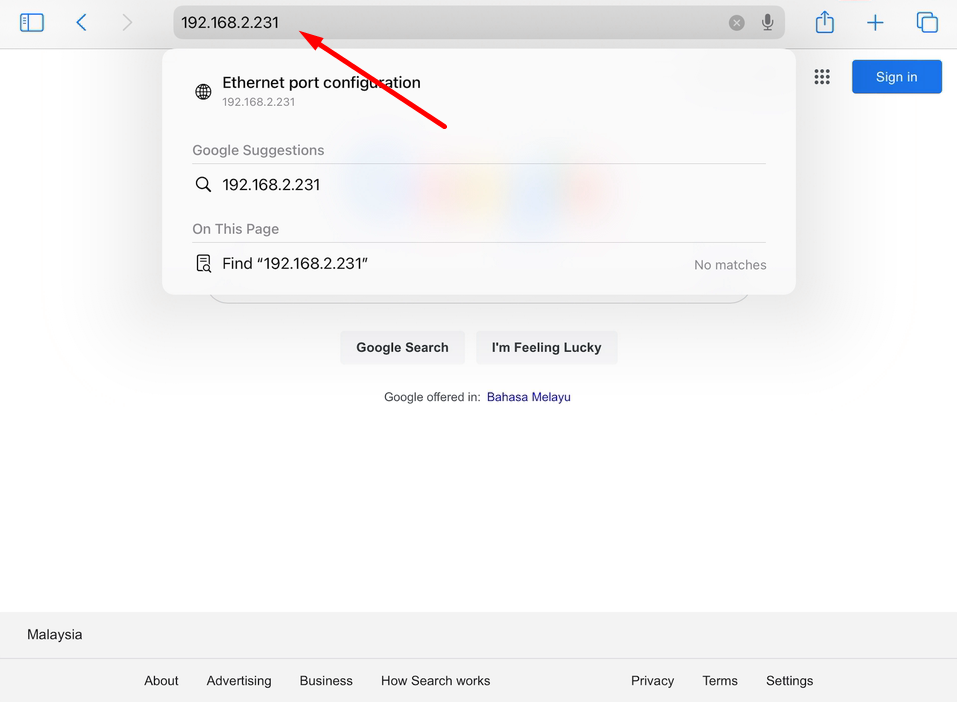
3. If printer connection was connected, it will display the printer configuration page.

4. If printer connection was disconnected, browser will cannot open the page.
5. You also may check LAN port light at the back of the printer. Below video how to check LAN port light.
Situation:-
I need to relocate the POS system hardware to the new place. How to I setup the printer cable ?
Solution:-
You need make sure the printer connected to power plug, cash drawer and router. Below video how to setup printer cable.
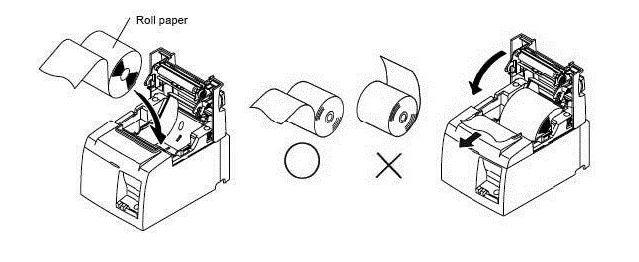
Do not load the paper in reverse. Thermal receipt paper can only be printed on one side – thermal side, so you must make sure the thermal side has close contact with the thermal heat head.
It is essential to keep a watch on the receipts which are coming out of the printer. If there are red lines on the receipt coming out from the printer, it indicates that the roll is about to get over.
Situation:-
You just made a paper change. The point-of-sale system is instructed to print a customer’s receipt. A sheet of paper that looks to be the correct size for a customer’s receipt is printed by the printer, but it is entirely blank.
Solution:-
Make sure the roll of paper you just loaded into the printer is a thermal receipt paper roll. If it is, then take the paper roll out, flip it over, load it back into the printer.
2 Things Could Cause This Issue
Why Is My Printer Light Blinking Red?
This most likely indicates that the printer cover is open, the printer is out of paper and the paper roll is not loaded correctly.