Whether you own a five-star restaurant or a local street café, your menu should be designed with customers in mind and oriented towards the type of consumers you want to attract.
Many underestimate the importance of menu design and rarely search for menu design tips and recommendations before designing and creating a menu.
It’s actually one of the most important factors in whether people choose to eat at your restaurant and can influence how much people spend.
Acting as a bridge between the chef and customers, excellent menu designs have the ability to improve dining experience, assist customers in making decisions, and increase appetite.
Here are 7 menu design tips you should consider:
1. Organising the Menu Clearly & Logically
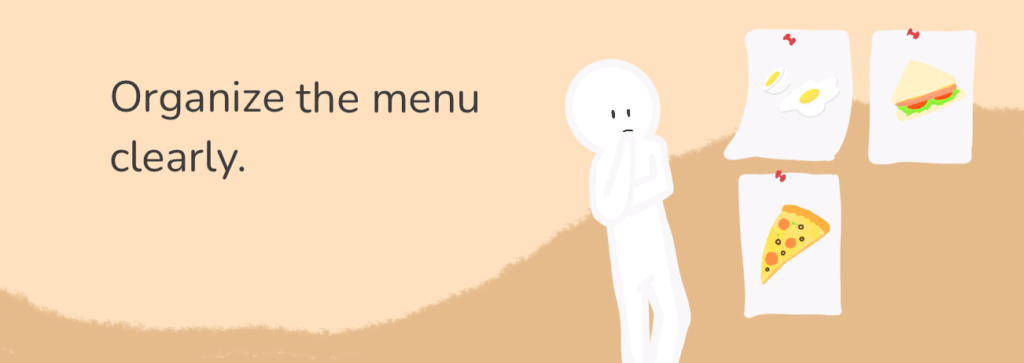
Organising your menu design helps to keep customers from feeling overwhelmed.
It is important to keep in mind how many menu items you are offering and how they might be grouped together or separated.
Restaurant menus should typically be divided into logical parts, with visible headers for each section. This is to make it easier for customers to identify meals by arranging them sequentially and logically.
Tip: When naming your menu’s sections and categories, it’s best to be as concise as possible.
For instance, instead of grouping all of your offerings under “Breakfast,” organize them into categories such as “Omelets” or “Pancakes” to give customers a better understanding of what you have to offer.
2. Consider Eye Movement Patterns
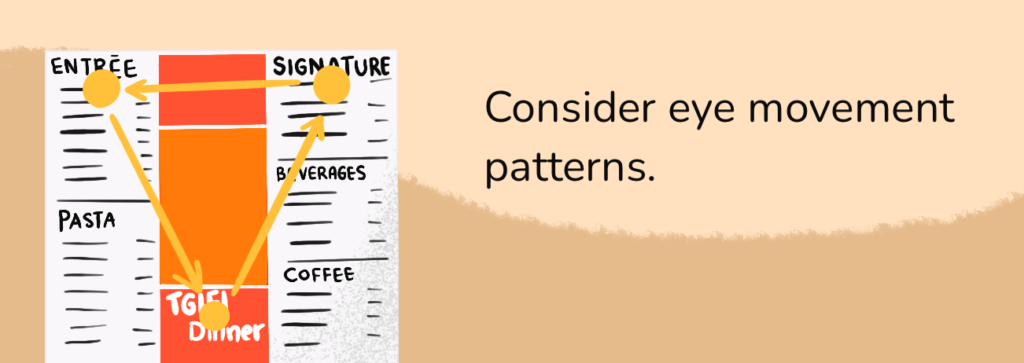
When designing a menu layout, consider how the flow of each section aligns to how your customers naturally read a menu while thinking about their meal in the order they want to eat.
Tip: Place high-margin items in the “Golden Triangle”.
The Golden Triangle is the area of your menu that customers read first.
According to several menu engineering experts, this pattern occurs because our eyes typically start in the center of the page, then move to the top right, and then, finally, to the top left.
Others say that customers read menus like a book, starting at the top left.
Tip: To be safe, cover your bases. Put high-margin dishes at the top left, top right, and center of your menu.
3. Reduce the Burden of Choice
Your instinct may be to provide customers with as many dishes as possible.
The problem? More choice isn’t always better.
When it comes to menus, less is more.
A large menu with too many food options may end up confusing the customer. The most popular sort of menu is two pages long.
A lengthy menu can also harm sales since it takes longer for customers to order their food. This slows down table turn time, resulting in fewer customers served.
A shorter menu is also easier to manage for kitchen personnel and can result in better execution of each dish.
Tip: Keep your menu short and curated.
4. Increase White Space & Reduce Clutter
Clutter bothers the human eye. A cluttered and careless menu translates to careless preparation of food.
An organised layout creates a positive impression.
If you want your menu items and descriptions to stand out, include enough white space in your menu design.
Leave some negative space in the layout to add some aesthetics and ensure that the layout does not overwhelm the customers.
If your restaurant has a modern or contemporary style, you may opt for a larger page or an unique layout rather than cramming everything onto the page.
Tip: Consider printing a separate breakfast, lunch and dinner menu, if your place of business serves all three.
5. Size of Food Descriptions
If you use unique names for your dishes, creating menu descriptions might assist customers understand what they’ll be eating.
Rather than listing every ingredient and crafting a description worthy of a magazine review, keep the description brief and to the point.
Incorporating some white space will make your menu a lot more readable and less tiresome to read.
Tip: Use highly descriptive language when writing your menu description.
When it comes to describing your menu items, less is really more.
The trick is to keep it as simple as possible while still providing useful and relevant information — your restaurant staffs are there to communicate the extra information when needed.
6. Consider Using Photos (Sparingly)
A few well-placed visuals may transform a menu design from boring to delightful, but too many might confuse the customers and cause sensory overload.
Whether or not photos of dishes will be an effective addition to a menu depends largely on the type of restaurant.
Pairing a photo with each meal is a method associated with low-end or fast-food settings, so high-end restaurants generally avoid the practice.
Tip: Don’t use poor quality photos on your menu or on social media.
Recall the last time you went to a restaurant and saw low-quality photos on the menu. Wasn’t it not very appetising?
It is preferable not to use any photos than to use poor quality photos. Poor photo quality can cause a negative perception of the food and the business.
7. Make Use of Symbols and Icons
Did you know that symbols and icons help to draw attention to items on your menu?
A well-crafted system of symbols not only saves space on your menu, but also saves time for both the restaurant staff and the customers.
Tip: Choose or design a collection of symbols that are consistent with your brand’s overall theme in terms of colour, positioning, and style.
Using a star or chef hat icon might indicate to customers that this menu item is either noteworthy or popular.
Symbols can also be used to indicate vegetarian or vegan foods on the menu, rather than having to type it out or creating a separate area on the menu for them.
The Takeaways
The bottom line is that your menu represents far more than just the food on offer; it may also serve as a tool for advertising, communicating the business’ identity and generating profits.
BONUS MENU DESIGN TIP: The overall look and feel of the menu are equally important. Using clipboards or a thicker material, or even textiles, alters the sensory sense of the customers, boosting your brand even further.
Now you’ve got the menu design tips down, all that’s left is for you to design your own amazing menu!
Share your menu design on social media by tagging us for a chance to be featured on Slurp!’s social media.
Like these menu design tips?
Stay tuned for our upcoming article, in which we’ll list out several useful online tools to design a customized menu. Keep an eye out for it!